
To shoot better helmet cam footage without fighting your camera, guarantee your helmet fits snugly and is properly secured, using padding if needed. Choose a compatible mount that minimizes vibrations and keeps the camera steady. Use stabilization accessories like gimbals or mounts with built-in stabilization. Adjust your camera settings for fast shutter speed and proper exposure. Practice smooth movements and panning techniques, manage lighting conditions, and avoid abrupt motions. Keep practicing these tips to improve your footage even more.
Key Takeaways
- Use a compatible, secure mount with stabilization features to keep footage smooth and prevent unnecessary movement.
- Ensure your helmet fits snugly with proper padding to minimize shifting during activity.
- Adjust camera settings: increase shutter speed, optimize ISO, and enable stabilization for sharper footage.
- Practice steady, deliberate movements and controlled panning to reduce shake and jerks.
- Regularly review footage to identify issues and optimize mounting, settings, and techniques for better results.
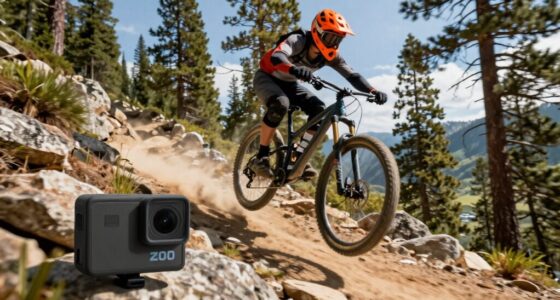
Motorcycle Helmet Camera with Stabilization & EIS, POV Chest Magnetic Action Camera with Dual Screen,1080P Wearable Thumb Camera,with Helmet Mount for Motorcycle/Bike Cycling Running Or Walking (16GB)
Magnetic Helmet & Chest Mount – The powerful magnetic clip locks securely onto your motorcycle helmet, shirt, or…
As an affiliate, we earn on qualifying purchases.
As an affiliate, we earn on qualifying purchases.
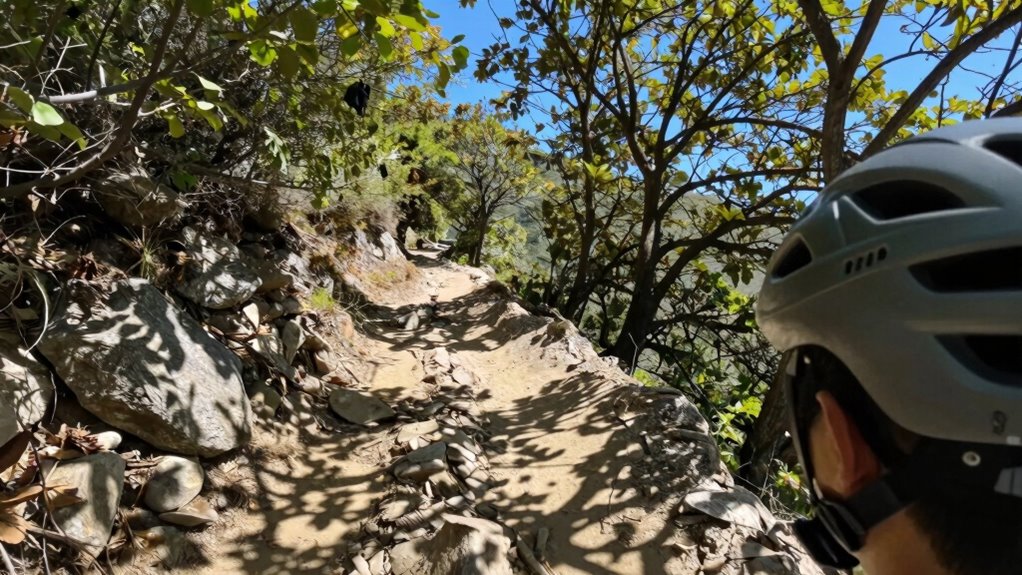
Why Stable Helmet Cam Footage Matters for Your Adventures
Stable helmet cam footage is vital because it makes your adventures more immersive and enjoyable to watch. When your footage is steady, viewers can better experience the thrill of your ride or climb. Proper helmet safety is essential—you want your camera securely attached to prevent accidents or damage. Using the right camera accessories, like mounts and stabilizers, helps keep your footage smooth even on rough terrain. Steady shots not only look professional but also capture the details that make your adventure exciting. Without stability, footage can be shaky and distracting, diminishing the overall experience. Investing in good helmet safety gear and reliable accessories ensures your camera stays in place, giving you clear, stable footage that truly showcases your adventures. To achieve the best results, consider camera stabilization techniques that can further enhance your footage quality. Additionally, understanding gadget compatibility can help you select accessories that work seamlessly with your specific camera model.

Kewig Universal Motorcycle Helmet Chin Camera Mount with Bendable Mounting Base & Strong Adhesive Pads, Quick-Release Design, Angle Adjustable, Compatible with GoPro/DJI OSMO/Insta360 Action Camera
Universal Design: Features a flexible mounting base compatible with most full-face motorcycle helmets on the market. Compatible with…
As an affiliate, we earn on qualifying purchases.
As an affiliate, we earn on qualifying purchases.
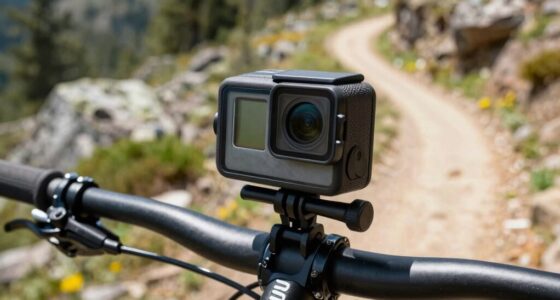
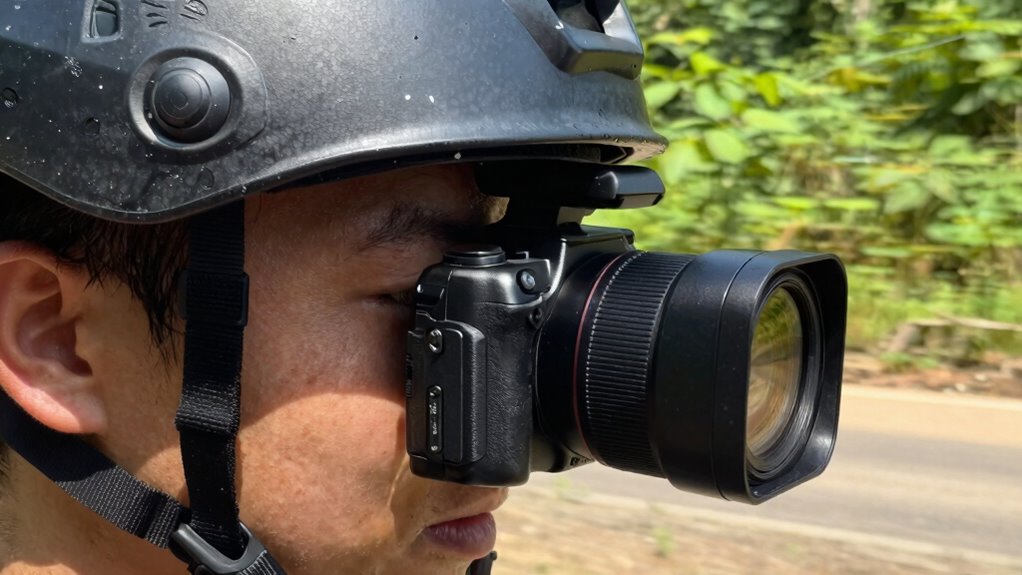
How to Choose the Best Helmet Mount for Steady Shots

When selecting a helmet mount, make certain it’s compatible with your camera model to avoid fitting issues. Look for stabilization features that help keep your footage steady, even during intense activity. Choosing the right mount will make a big difference in capturing smooth, professional-looking shots. Additionally, consider the style and design of the mount to ensure it complements your gear and personal aesthetic.
Compatibility With Camera
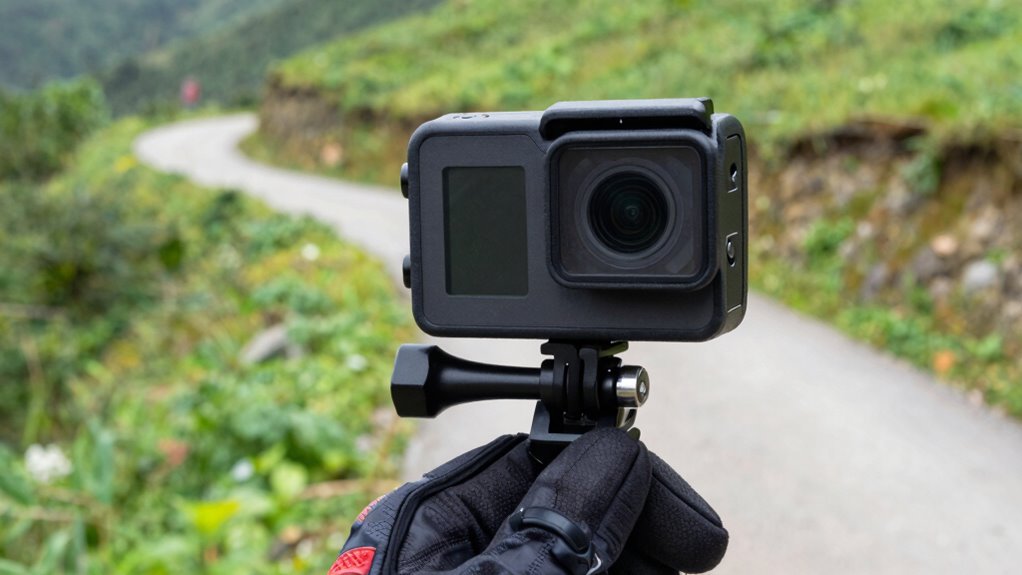
Choosing a helmet mount that’s compatible with your camera is essential for capturing smooth, steady footage. Not all helmet cameras use the same mounting system, so checking mounting compatibility guarantees your camera fits securely. Some mounts are designed specifically for action cameras like GoPro, while others may support different brands or models. Before buying, verify the mount’s specifications and whether it’s compatible with your camera’s size and mounting interface. A secure fit prevents wobbling or detachment during activity, which impacts footage quality. Investing in a mount that matches your helmet camera’s mounting system guarantees stability and ease of use. Always double-check compatibility details to avoid the frustration of incompatible gear and to ensure your shots stay steady and professional.
Stabilization Features
To capture smooth, steady footage, prioritizing stabilization features in your helmet mount is essential. Look for mounts with built-in stabilization or compatibility with gimbal accessories that reduce shake. A well-designed helmet guarantees your camera stays steady even during high-movement activities. When choosing a mount, consider how the helmet design influences camera positioning and stability. Some mounts come with adjustable angles for better framing, while others integrate advanced stabilization tech. Incorporating stabilization features into your setup ensures your footage remains clear and professional-looking, regardless of the intensity of your activity. Selecting the right camera accessories and helmet design will help you achieve that perfect steady shot every time.

DJI RS 3 Mini, 3-Axis Gimbal Stabilizer for Cameras Canon/Sony/Panasonic/Nikon/Fujifilm, 2 kg (4.4 lbs) Tested Payload, Camera Gimbal with Native Vertical Shooting, Black
795g (1.75lbs) Lightweight and Portable – DJI RS 3 Mini is an ultra-compact gimbal stabilizer for camera convenient…
As an affiliate, we earn on qualifying purchases.
As an affiliate, we earn on qualifying purchases.
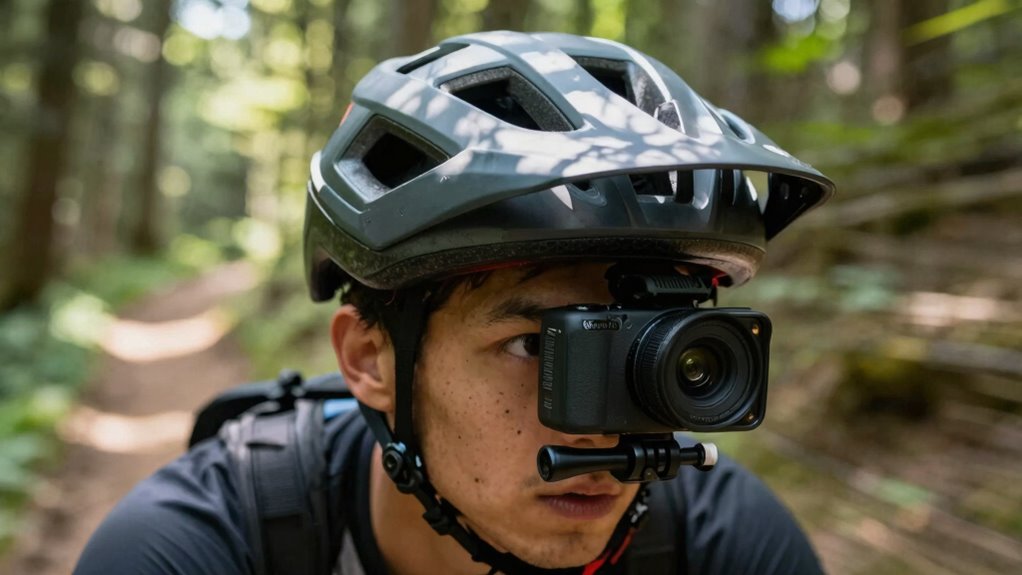
Adjusting Your Helmet for Better Stability and Comfort
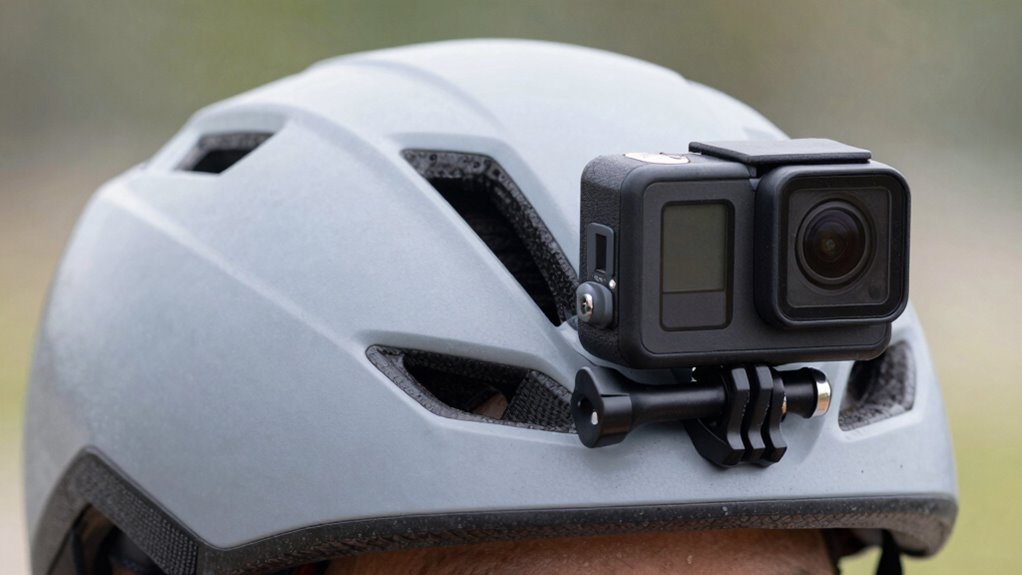
Ensuring your helmet is properly adjusted is key to capturing steady, clear footage. Start by fitting the helmet snugly with comfortable helmet padding, so it stays in place without pressing too hard. Adjust the chin strap securely, but not so tight that it causes discomfort or shifts during activity. A well-fitted helmet prevents unnecessary movement, reducing vibrations that can blur your footage. Check that the helmet sits level on your head and doesn’t tilt forward or backward. Make small tweaks to the padding if needed for a secure fit. When your helmet feels stable and comfortable, your camera stays steady, making your footage smoother and more professional. Proper adjustment helps you focus on capturing your ride, not fighting your gear. Proper fit is essential for maintaining safety and stability while filming. Additionally, a well-adjusted helmet minimizes unnecessary movement, which is crucial for clear, high-quality footage. Ensuring your helmet stays in place during vigorous activity also helps prevent camera shake, leading to more polished results. Paying attention to helmet comfort can further enhance your ability to stay focused and enjoy your activity without distraction. When your helmet fits well, it also reduces distractions, allowing you to concentrate fully on your ride and filming.

Aluminum Camera Tripod Adapter 1/4"-20 Conversion Adapter Mounts Compatible with Gopro Action Cameras Insta360 and Other Standard 1/4 Accessories, Quarter Inch Mount Adapter (Type AA)
Strong Aluminum Metal Compatibility: All Metal camera mount converter can easily mount any 1/4 camera on another device,…
As an affiliate, we earn on qualifying purchases.
As an affiliate, we earn on qualifying purchases.
Camera Settings to Minimize Shake and Blur
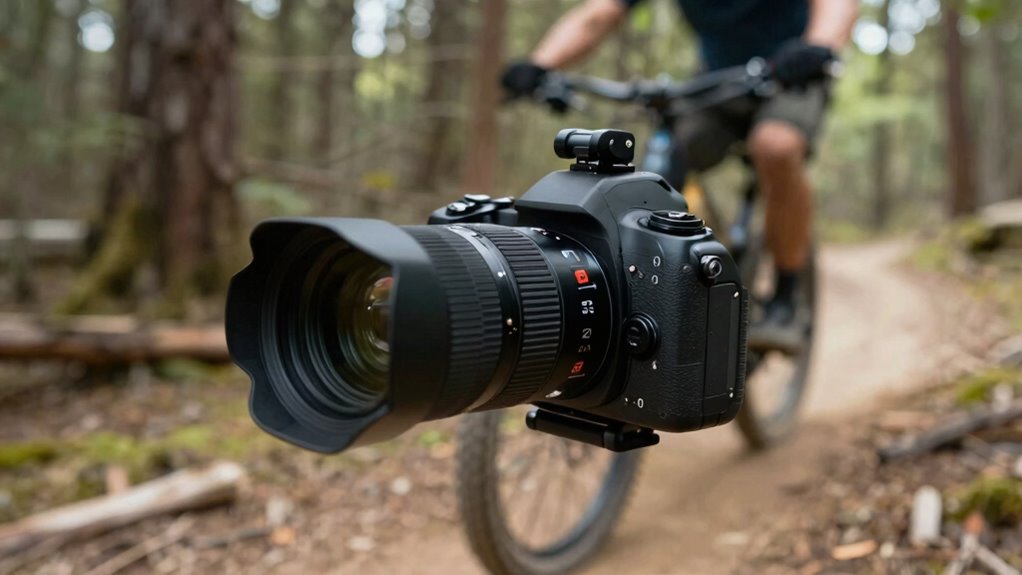
When you set your camera properly, you can considerably reduce shake and blur in your footage. Use a higher shutter speed to freeze motion and prevent blurriness, especially during fast movements. Adjust your ISO to guarantee proper exposure without introducing noise, which can distract from sharpness. Choose a narrower aperture for greater depth of field, keeping more of your scene in focus. Enable color grading settings to enhance clarity and contrast, making your footage appear sharper. Additionally, optimize audio enhancement features to minimize background noise, so your sound matches the crisp visuals. These settings help produce cleaner, more professional footage. Properly configured camera settings, combined with good stabilization, ensure your helmet cam captures smooth, vivid footage you’ll be proud to share. Incorporating video quality tips can further enhance the overall sharpness and clarity of your recordings.
Using Stabilization Accessories to Keep Your Footage Smooth
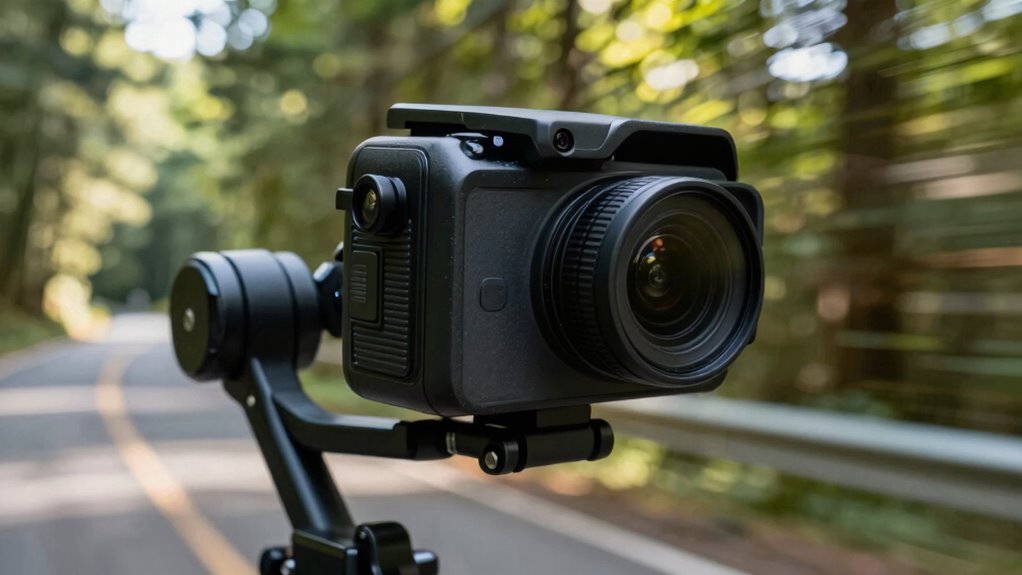
Stabilization accessories are essential tools that can substantially enhance the smoothness of your helmet cam footage. Using the right helmet accessories and stabilization gear helps reduce unwanted shake and jitters, especially during fast movement. A chest or head mount with built-in stabilization can make a noticeable difference. Consider adding gimbal stabilizers or handheld stabilizers designed for helmet cameras, which absorb vibrations and keep your footage steady. These stabilization gear options are lightweight and easy to attach, giving you more control over your shots. By investing in quality helmet accessories, you’ll minimize camera shake and produce professional-looking footage with minimal effort. Properly maintaining and cleaning your gear ensures optimal performance and longevity. Keep your gear ready and properly mounted to guarantee consistent stability and smooth results every time you hit record. Incorporating stabilization accessories into your setup can also help compensate for environmental factors like uneven terrain or wind, ensuring your footage remains steady under various conditions. Additionally, choosing the right mounting options can significantly improve your overall stability and shot quality. Utilizing advanced stabilization techniques can further elevate your footage quality, especially in challenging shooting environments.
Filming Techniques: How to Capture Smooth Movement and Panning

Capturing smooth movement and panning with your helmet camera requires deliberate technique and steady control. To enhance your footage, focus on maintaining consistent speed and fluid motion. Use creative angles to add visual interest and tell a compelling story through your shots. Practice smooth panning by moving your head or camera slowly and steadily, avoiding jerky movements. Incorporate storytelling techniques by framing your shots thoughtfully and planning your movements ahead. Adjust your body posture to stabilize your camera naturally. Keep your movements deliberate, not rushed, for professional-looking results. Additionally, understanding the importance of steady camera control can significantly improve your footage quality. Developing a steady hand through practice can further refine your filming skills and help you achieve smoother footage. Paying attention to motion stability techniques can make a noticeable difference in your overall filming quality. Consistent practice with technique refinement is essential to mastering these skills and producing more professional results. Remember, focusing on your body positioning can also contribute greatly to achieving more stable shots.
Managing Lighting and Environment for Clearer Helmet Cam Videos
Lighting conditions can make or break the clarity of your helmet cam footage, so it’s vital to adapt to your environment. Bright, consistent lighting helps prevent washed-out or underexposed shots, while avoiding harsh shadows improves overall visibility. When recording in varying light, plan for color grading afterward to enhance contrast and color accuracy, making your footage pop. Pay attention to audio quality by reducing wind noise and background sounds, which can distract viewers. A well-managed environment minimizes reflections and glare that can obscure your view. Use accessories like visors or filters if needed. Additionally, understanding lighting conditions can help you optimize your setup for better results. Adjusting your environmental factors can significantly improve footage quality and help you capture smoother, more professional-looking videos. By controlling lighting and environment, you’ll guarantee your footage looks professional, and post-production adjustments like color grading are more effective, resulting in clearer, more immersive helmet cam videos. Properly managing lighting setup can also help you achieve more consistent results across different environments. Recognizing how natural light impacts your recordings enables you to plan shots more effectively and avoid common pitfalls. Being aware of environmental variables allows you to adapt quickly and prevent issues like overexposure or underexposure during your recordings.
Common Mistakes That Cause Shaky Footage and How to Fix Them
Shaky footage often comes from improper mounting, excessive camera movement, or neglecting stabilization settings. These mistakes can make your videos hard to watch and less professional. Fixing them involves securing your mount properly, controlling your movements, and using stabilization features effectively.
Improper Mounting Techniques
One of the most common causes of shaky helmet cam footage is improper mounting technique. If your helmet fit isn’t secure or the camera’s weight isn’t well-balanced, vibrations and movement will be amplified. To improve stability, pay attention to these key points:
- Use a snug, well-fitted helmet to prevent unnecessary shifting.
- Ensure the camera is mounted close to your helmet’s center for better balance.
- Choose lightweight cameras to reduce strain and vibrations.
- Tighten all mounting components securely; loose mounts cause wobbling.
- Avoid mounting on soft or flexible areas that can amplify motion.
Proper mounting minimizes camera movement caused by helmet fit and camera weight, helping you capture steadier footage without fighting your gear.
Excessive Camera Movement
Even with a secure mount, excessive camera movement can still ruin your footage. Sudden or jittery motion makes scenes hard to watch and diminishes professionalism. Your helmet design and camera accessories can influence stability, but you must also control your movements. To reduce unwanted shake, keep your body steady and avoid abrupt turns. Using lightweight camera accessories helps minimize weight and vibrations.
| Tip | Explanation |
|---|---|
| Use stabilizing mounts | These absorb shocks and reduce shake. |
| Practice smoother motions | Slow, deliberate movements keep footage steady. |
| Adjust helmet fit | A snug fit limits helmet vibrations. |
| Choose balanced accessories | Proper weight distribution prevents wobbling. |
| Incorporate padding | Absorbs impacts and lessens vibrations. |
Stability improves with proper gear and mindful movement, ensuring clearer footage.
Ignoring Stabilization Settings
Many riders overlook the importance of adjusting stabilization settings on their cameras, which can lead to frustratingly shaky footage. Ignoring these settings often results in footage that’s hard to watch, especially with the helmet weight and camera angle influencing movement. To fix this, check your camera’s stabilization options and activate them or improve their strength. Also, consider how helmet weight affects your head’s stability, which impacts camera shake.
- Confirm stabilization is enabled and set to maximum
- Adjust camera angle to reduce unnecessary movement
- Use a lightweight helmet for less weight-induced shake
- Tighten camera mounts to prevent jostling
- Balance your helmet to minimize wobbling during rides
Final Tips for Shooting Professional-Quality Helmet Cam Footage

To capture professional-quality helmet cam footage, paying attention to a few final tips can make all the difference. First, make certain your helmet safety gear is secure to prevent shifting that could ruin your shot. Check that your camera battery is fully charged and carry a spare if possible—nothing cuts a shoot short like a dead battery. Keep the camera settings consistent, especially focus and exposure, to maintain quality throughout your ride. Use a mounting system that minimizes vibration and movement, and periodically review your footage to catch issues early. Remember, steady footage comes from a combination of proper mounting and smooth riding. By staying mindful of these details, you’ll produce cleaner, more professional helmet cam videos with less frustration.
Frequently Asked Questions
What Are the Best Helmet Camera Brands for Stability?
You’ll find GoPro, DJI, and Sony are top brands for stability in helmet cameras. They offer excellent mounting angles and come with versatile camera accessories that help reduce shake and vibrations. To guarantee smooth footage, choose a camera with built-in stabilization and experiment with mounting positions. Properly securing your camera with the right accessories makes a huge difference, giving you steady shots without fighting your gear during action-packed moments.
How Can I Reduce Wind Noise in My Helmet Footage?
To reduce wind noise in your helmet footage, use wind noise reduction techniques like installing a windscreen or foam cover over your mic. You can also apply audio filtering in post-production to minimize wind sounds without sacrificing audio clarity. Adjust your camera’s audio settings if available, and try to keep the mic protected from direct airflow. These steps will help you get cleaner, more professional-sounding helmet footage.
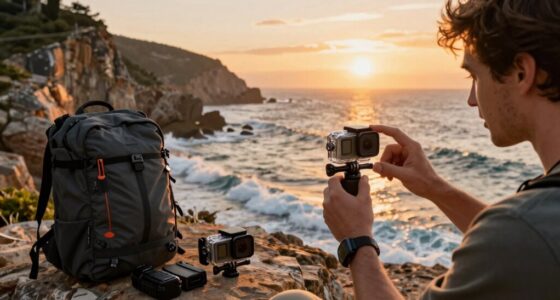
Is It Better to Use a Chest Mount or Helmet Mount?
Choosing between a chest mount or helmet mount is like deciding whether to wear sunglasses on your head or your face—each has its perks. Helmet positioning offers dynamic angles, capturing the thrill from your perspective, while a chest mount provides a steady, grounded view. For the best shots, mix camera angles, but if you want immersive, action-packed footage, stick with the helmet mount. It’s all about what adventure you want to showcase.
How Do Weather Conditions Affect Helmet Cam Stability?
Weather effects like rain, wind, or snow can shake your helmet cam, making footage shaky or blurry. To combat this, you should regularly calibrate your camera to adjust for changing conditions. Secure your mount tightly and consider using weatherproof housings. Wind can also cause vibrations, so use anti-vibration mounts if possible. Staying aware of weather forecasts helps you plan better shots and avoid rough conditions.
Can Post-Processing Improve Shaky Helmet Footage?
Post-processing stabilization can considerably smooth shaky helmet footage. You’ll want to explore editing software options like Adobe Premiere Pro, Final Cut Pro, or DaVinci Resolve, which offer powerful stabilization tools. By applying post-processing stabilization techniques, you can transform trembled clips into tame, steady sequences. This process helps you salvage shots that might otherwise be unusable, ensuring your adventure footage looks professional, polished, and perfect for sharing.
Conclusion
Now that you’ve got the tips to stabilize your helmet cam footage, you’re ready to capture your adventures like a pro. Remember, it’s all about finding the right gear, adjusting for comfort, and steadying your shots—no need to fight the camera like a knight with a dragon. With practice, your footage will look so smooth, even Leonardo da Vinci would be impressed. So gear up, stay steady, and let your adventures shine through!