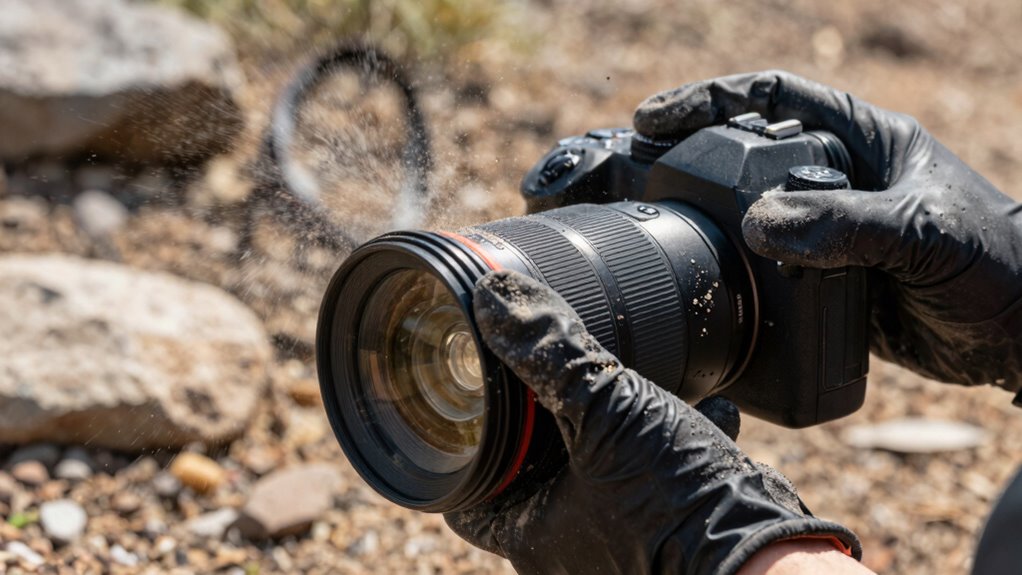
When changing lenses in dusty environments, you should act carefully to protect your gear. Choose calm, sheltered conditions, turn off your camera, and handle your lenses with clean hands or gloves. Use tools like air blowers and keep caps on when not switching. Avoid rushing, expose the camera as little as possible, and set the camera face down during swaps. For more tips on keeping your camera safe and clean, keep going.
Key Takeaways
- Choose calm, sheltered times and environments to change lenses, minimizing dust exposure.
- Turn off the camera and handle gear carefully, using protective caps and sealed lenses.
- Use air blowers and soft brushes to remove dust from lenses and camera bodies before swapping.
- Avoid rushing the process; change lenses slowly and keep the camera face down whenever possible.
- Regularly clean lenses and camera components in a dust-free environment to maintain optimal image quality.

K&F CONCEPT 4-in-1 Camera Lens Cleaning Kit with Lens Cleaning Pen, Camera Air Blower, Microfiber Cleaning Cloth, Lens Cleaner Kit for Canon Nikon Pentax Sony DSLR Camera Lens Filter Cell Phones
【PROFESSIONAL LENS CLEANING KIT】:Dslr cleaning kit includes Camera Dust Blower*1, Lens Cleaning Pen*1, Microfiber Lens Cleaning Cloths*2. Safe…
As an affiliate, we earn on qualifying purchases.
As an affiliate, we earn on qualifying purchases.
How Dust Can Damage Your Camera When Changing Lenses
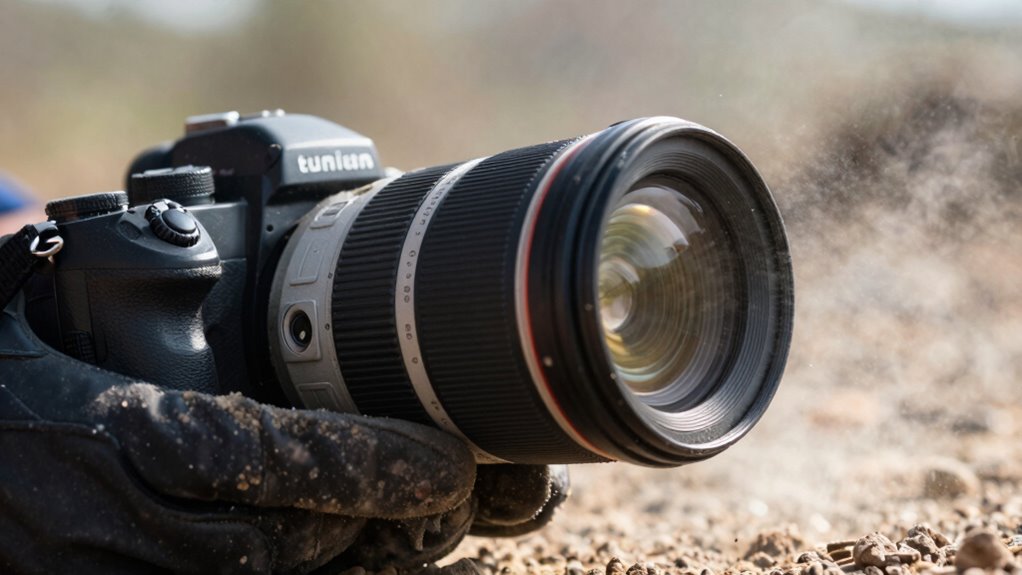
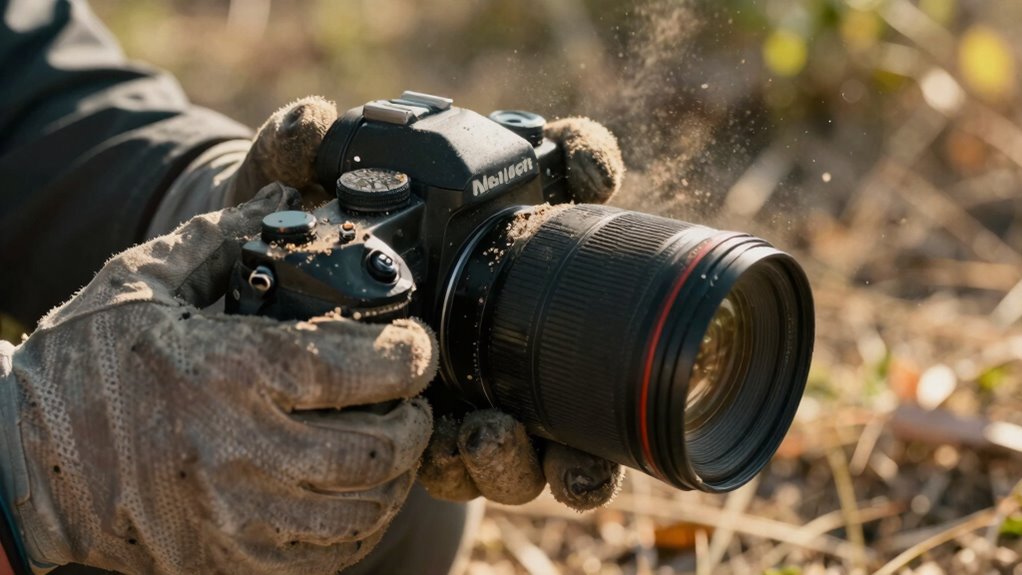
Changing lenses in dusty environments can expose your camera’s internal components to harmful particles, which can cause long-term damage. Dust particles can settle on the sensor, mirror, and inner mechanisms, leading to potential malfunctions. When you swap lenses, these tiny particles are likely to enter the camera body if you’re not careful. Static buildup also plays a role, attracting dust and making it stick inside your camera. Over time, this buildup can cause image quality issues and mechanical problems. If you don’t take precautions, dust can scratch sensitive surfaces or interfere with moving parts. Protecting your gear means understanding how dust and static can damage your camera. Proper handling during lens changes is essential to prevent these issues and keep your equipment functioning *at its best*. Awareness of dust infiltration risks is crucial for maintaining long-term camera performance. Using anti-static tools and techniques can further reduce the risk of Static buildup attracting more dust during lens swaps. Additionally, employing static reduction techniques can help minimize dust attraction and protect your camera’s delicate components. Implementing proper cleaning protocols can also help mitigate dust-related damage over time. Being mindful of environmental conditions can significantly reduce the likelihood of dust entering your camera during lens changes.

Matin Anti-Static Control Brush – High Grade
Matin Brand New – Anti Static Control Brush – High Grade type
As an affiliate, we earn on qualifying purchases.
As an affiliate, we earn on qualifying purchases.
Picking the Best Time and Place to Change Your Lens in Dusty Conditions

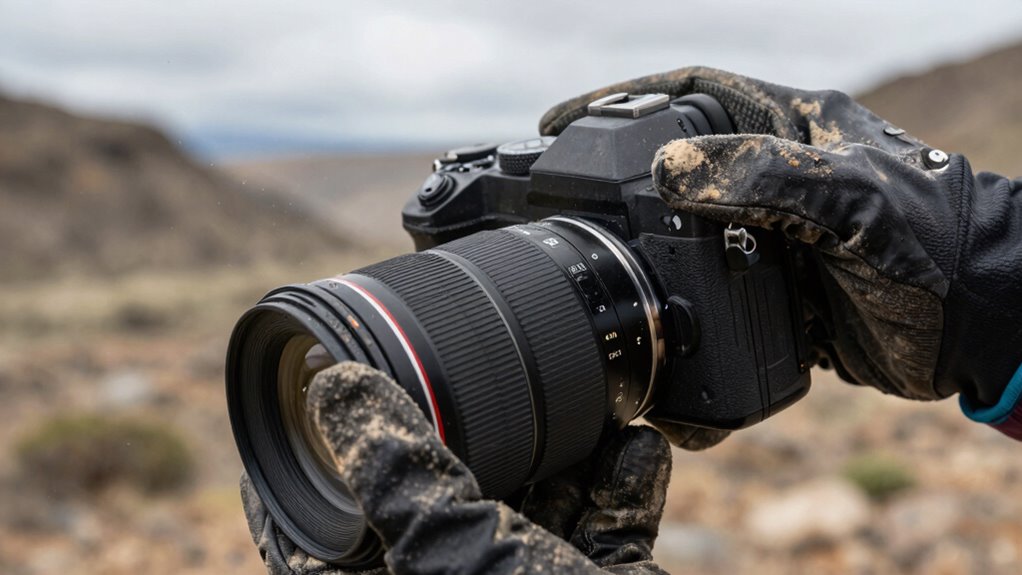
Choose days with calm weather and minimal wind to reduce dust exposure when changing lenses. Find a controlled environment, like inside a vehicle or a sheltered area, to keep dust out of your camera. Always wait for moments when wind is low to minimize the risk of dust settling on your equipment. Opt for environments with good air quality to further protect your gear from dust particles. Ensuring a dust-free environment can significantly improve the safety of your equipment during lens changes. Additionally, maintaining proper ventilation can help disperse dust and improve overall conditions. Being aware of market conditions can also help you plan your outdoor shoots more effectively, avoiding dusty times when dust levels are high.
Optimal Weather Conditions
When is the best time to change your lens in dusty conditions? The ideal moment is during periods of stable weather with low wind speeds. Stable weather reduces the chance of dust being stirred up, keeping the environment cleaner. Calm days with minimal wind mean fewer particles in the air, making it safer to handle your equipment. Avoid changing lenses during windy conditions or when dust storms are present, as these increase the risk of debris entering your camera. Check weather forecasts before planning your lens change, aiming for clear, calm days. By choosing times with stable weather and gentle winds, you protect your gear and ensure a cleaner, safer lens swap. Additionally, understanding dust control methods can help minimize exposure to airborne particles during your lens change.
Controlled Environment Setup
Selecting the right environment for lens changes can substantially reduce dust intrusion. Choose a clean, enclosed space, ideally indoors or in a sheltered area, to minimize airborne particles. Before swapping lenses, guarantee your camera is turned off to prevent dust from entering the sensor. Use a blower or air duster to clear dust from your workspace and camera body. Maintaining a dust-free environment aids in proper lens calibration and prevents debris from settling on sensitive components. Set up your workspace on a stable surface with minimal airflow, avoiding windy or drafty areas. Keep your replacement lens in a sealed bag until needed. Taking these precautions helps ensure a cleaner lens change, reducing the risk of dust contamination and maintaining optimal camera performance. Ensuring your environment is free from airborne particles is crucial for a successful lens change.
Timing During Low Wind
Timing your lens change during periods of low wind is essential to minimizing dust intrusion. Wind speed plays a critical role in choosing the right moment—wait for the calmest conditions to reduce dust particles entering your camera. Timing considerations include observing weather patterns and avoiding windy peaks, such as mid-afternoon gusts.
To optimize your chances:
- Change lenses during calm, early mornings or late evenings when wind speed drops
- Keep an eye on weather forecasts for wind intensity updates
- Pick sheltered spots, like behind natural barriers, to block gusts

TONHOKJ Universal Lens Cap, Fits 99% DSLR & Mirrorless Camera Lenses, Silicone Lens Cover with Element Proof Protection, Waterproof, Dustproof & Shockproof, Lifetime Coverage, Black
Ultimate Element Proof Protection–Ultimate all-weather protection: Special silicone material provides an airtight seal for your expensive lens. Whether…
As an affiliate, we earn on qualifying purchases.
As an affiliate, we earn on qualifying purchases.
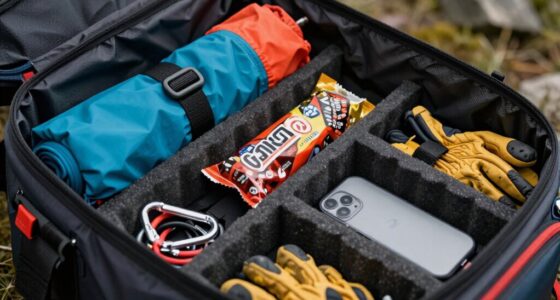
Protect Your Gear With the Right Tools and Protective Equipment
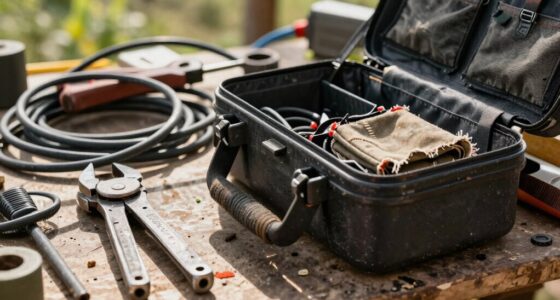
Protecting your camera gear in dusty environments starts with having the right tools and protective equipment on hand. Essential items include lens cleaning supplies, such as blower brushes and microfiber cloths, to keep your lens free of dust and smudges. Protective gear, like lens caps, filters, and weather-sealed bags, shields your equipment from dirt and debris. Regular lens maintenance helps prevent dust from settling into crevices, ensuring *ideal* image quality. Always carry a small, portable toolkit with screwdrivers and cleaning swabs for quick fixes. Using these tools and protective gear minimizes the risk of dust damage and keeps your gear in top condition, so you can focus on capturing great shots without worry. Incorporating dust prevention techniques can also help you maintain your gear’s longevity in challenging environments.
lens changing kit for dusty environments
As an affiliate, we earn on qualifying purchases.
As an affiliate, we earn on qualifying purchases.
How to Safely Change Your Lens in Dusty Environments: Step-by-Step
Before changing your lens, gather all necessary tools and protective gear to keep dust out. Keep your camera steady and avoid exposing the sensor to open air for too long. By staying organized and cautious, you minimize dust exposure and protect your gear.
Prepare Equipment Properly
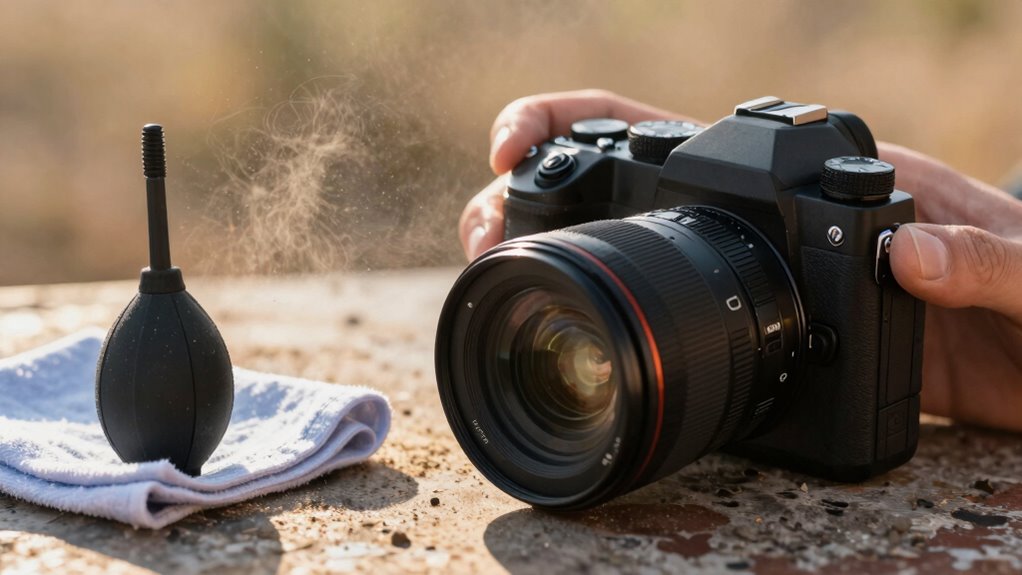
Have you ever wondered how to safely change your lens without letting dust ruin your gear? Proper preparation is key to maintaining your camera’s lens and preventing dust buildup. Start by inspecting your equipment for any existing dust or debris. Use a blower to remove loose particles from the lens mount and camera body. Keep your lens caps handy to protect the glass immediately after removal. Always handle your gear with clean hands and avoid touching the glass surfaces. Remember, effective lens maintenance relies on dust prevention, so take your time and be cautious.
- Use a blower instead of compressed air
- Keep your workspace clean and dust-free
- Carry microfiber cloths for quick cleaning
Minimize Dust Exposure
Wondering how to keep dust from settling on your gear during lens changes? To minimize dust exposure, focus on controlling dust accumulation around your camera. Use a professional air filtration system or a portable air blower to clear the immediate area before opening your camera. Avoid changing lenses in windy or dusty environments; instead, choose a sheltered spot. When you do change lenses, do it quickly and smoothly to limit dust entry. Keep your camera body and lens caps on whenever possible, and handle your gear in a way that reduces airborne particles. Regularly clean your workspace with air filtration tools to prevent dust buildup. By taking these precautions, you markedly reduce dust intrusion, protecting your equipment’s delicate internals and ensuring cleaner, clearer shots.
What to Do If Dust Gets Inside Your Camera or Lens?
Dust inside your camera or lens can be frustrating, but acting quickly can prevent further damage or deterioration of image quality. First, avoid touching the interior parts directly. Instead, gently try to remove the dust using tools designed for dust prevention, like a blower or soft brush.
Key steps include:
- Use a blower to safely dislodge dust without scratching.
- Avoid using compressed air, which can force dust deeper or damage seals.
- Seek professional lens cleaning if dust persists or if you’re unsure.
- Regular maintenance and proper handling can help unlock your potential by ensuring optimal camera performance.
- Proper storage and handling also play a crucial role in preventing dust buildup, especially in environments prone to dust such as dusty environments.
- Additionally, understanding dust mitigation techniques can further protect your equipment from dust-related issues.
How to Clean Your Camera and Lens After Dust Exposure
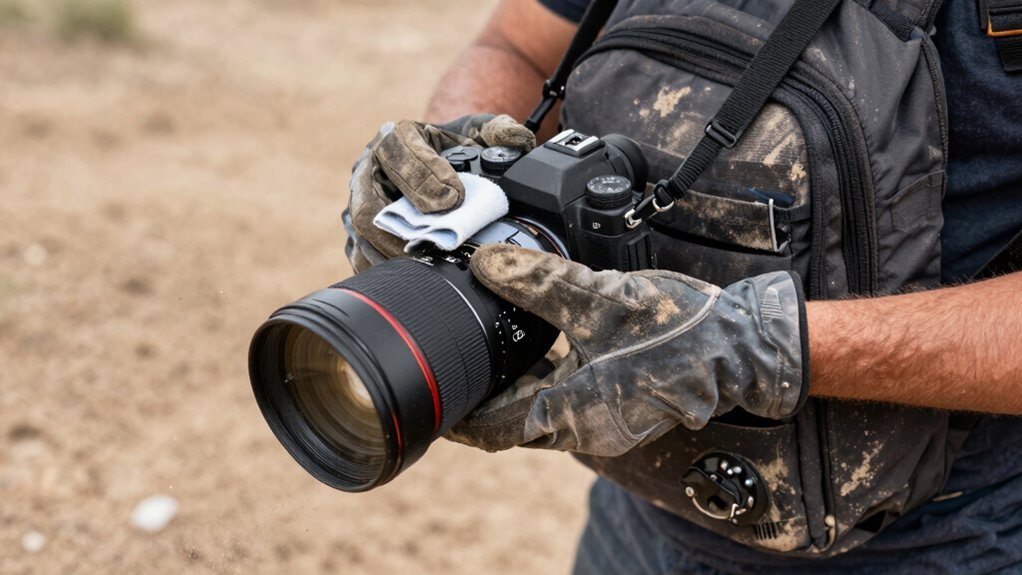
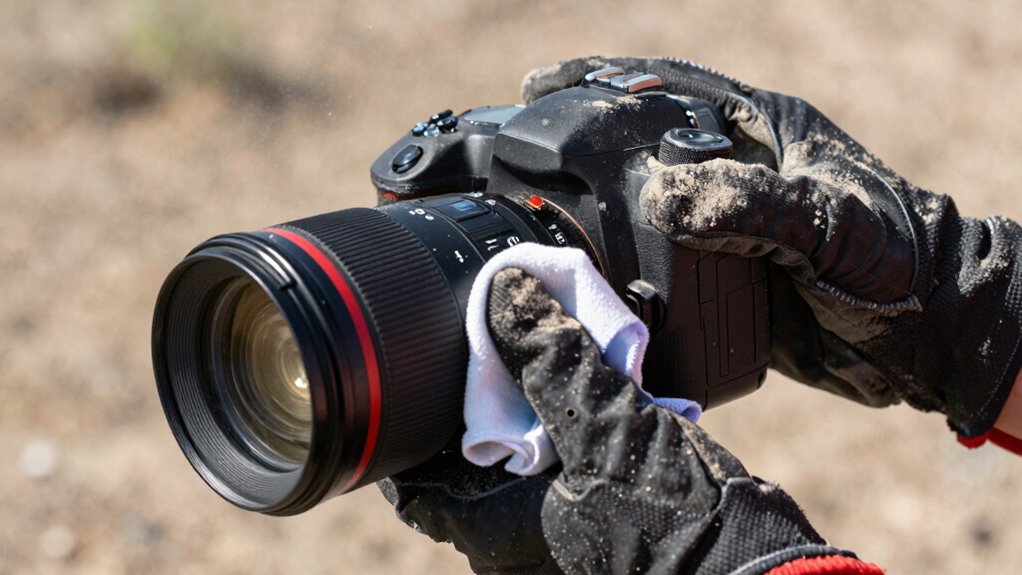
After exposing your camera and lens to dusty conditions, it’s essential to clean them carefully to maintain peak performance. Start with gentle dust removal using a soft brush or blower to avoid scratching surfaces. For lens cleaning, use a microfiber cloth or lens cleaning tissue, lightly dampened with lens cleaning solution if necessary. Avoid harsh chemicals or excessive pressure that could damage the coating. Carefully wipe the lens in a circular motion to remove smudges and dust particles. For the camera body, use a soft brush or compressed air to clear dust from crevices. Always handle your gear in a clean, dust-free environment and avoid touching glass surfaces directly. Proper dust removal and lens cleaning preserve image quality and prolong your equipment’s lifespan. Additionally, understanding dust exposure and how it affects your gear can help you take proactive measures to protect your equipment in dusty environments. Regular maintenance and knowledge of dust control techniques can significantly extend the life of your camera gear. Being aware of dust management strategies can further enhance your equipment’s longevity in challenging conditions. Incorporating preventative cleaning routines immediately after exposure can also minimize long-term damage.
Common Mistakes to Avoid When Changing Lenses in Dusty Conditions
Changing lenses in dusty environments can be tricky, especially if you’re not careful about how you handle your gear. Mistakes can lead to dust inside your camera, making lens maintenance more difficult and risking damage. To avoid issues, don’t rush the process or expose the lens mount unnecessarily. Always handle your gear with clean hands or gloves and keep the camera body facing downward to minimize dust entry.
Handle lenses carefully, keep the camera face down, and avoid touching internal parts to prevent dust and damage.
- Failing to keep the camera face down during lens swaps
- Touching the glass or internal parts unnecessarily
- Ignoring dust prevention techniques, like using lens caps
Camera Settings That Help Protect Your Gear During Lens Swaps
Using the right camera settings can substantially reduce the risk of dust and debris entering your gear during lens swaps. First, set your camera to sensor cleaning mode if available; this helps dislodge dust particles and minimizes contamination. Keep your camera in manual focus mode to avoid accidental autofocus adjustments that can cause unnecessary lens movement. Adjust your camera’s lens ergonomics by ensuring the lens release button is easy to access, speeding up the swap process. Use lens stabilization when possible to reduce hand tremors, preventing accidental drops or misalignments. Also, enable mirror lock-up on DSLR cameras to reduce vibrations during lens removal. Properly maintaining your equipment through regular cleaning can further help keep dust at bay. These settings promote proper camera maintenance and streamline lens changes in dusty environments, keeping your gear cleaner and functioning at its best.
Habits and Tips for Safe Lens Changes in Dusty Environments

When working in dusty environments, developing good habits is essential to keep your gear clean and functioning properly. Proper lens maintenance and dust prevention are key to avoiding damage and ensuring clear images. Always work in a clean, dust-free area when changing lenses. Use a blower to remove loose dust from your camera and lens mount before swapping. Keep your camera body pointed downward during the change to minimize dust entry. Handle lenses by the edges to avoid fingerprints and dirt transfer.
- Use a microfiber cloth or lens tissue to clean lenses after changing
- Keep dust caps on when the camera isn’t in use
- Carry a small air blower for quick dust removal
These habits help maintain your gear and prevent dust from compromising your shots.
Frequently Asked Questions
How Often Should I Change Lenses in Dusty Environments?
You should change lenses in dusty environments only when necessary, to minimize dust exposure. Before swapping lenses, clean them thoroughly to prevent dust from entering your camera. Use dust prevention techniques like keeping your camera body closed when not changing lenses and working in sheltered areas. Regular lens cleaning helps maintain peak image quality. By being cautious, you reduce dust buildup and protect your gear, extending its lifespan and ensuring clear shots.
Are There Specific Lens Caps for Dusty Conditions?
Think of lens caps as your camera’s tiny shields against a swirling storm of dust. Yes, there are specific lens cap options designed for dusty conditions—extra snug-fitting or dust-resistant lenses with built-in protection. These caps lock in place like a fortress wall, keeping dirt and debris at bay. Investing in dust-resistant lenses and specialized caps helps guarantee your gear stays clean, letting you focus on capturing sharp images without worry.
Can Using a Blower Damage My Camera or Lens?
Using a blower for lens cleaning generally won’t damage your camera or lens if you’re careful. It’s best to use a soft, air filtration device like a bulb blower to remove dust without touching the glass. Avoid compressed air cans, as they can cause moisture or debris to spray. Always keep the blower’s tip clean and gentle, preventing scratches or damage during dust removal.
What Are the Signs of Dust Inside My Camera?
If dust gets inside your camera, you’ll notice spots or smudges on your images, especially in uniform areas like skies or walls. You might also see a hazy or blurry effect, indicating sensor dust. To prevent this, regularly perform sensor cleaning and keep dust prevention measures in mind when changing lenses. Staying vigilant helps maintain image quality and minimizes the need for extensive cleaning later.
Is It Better to Change Lenses Indoors or Outdoors?
It’s better to change lenses indoors, especially in dusty environments, because dust particles are less likely to settle on your camera and lens during the switch. Did you know that 60% of camera damage occurs from improper lens handling? When changing lenses, always perform lens cleaning beforehand and store your camera properly to prevent dust entry. Indoors, you’ll have better control over dust, keeping your gear cleaner and safer.
Conclusion
Changing lenses in dusty environments is like maneuvering through a minefield—you need to stay alert and prepared. By following these tips, you’ll protect your gear from dust damage and guarantee your shots stay crisp. Remember, every careful step you take is like building a shield around your camera. Stay vigilant, use the right tools, and develop good habits—your gear and your images will thank you for it. Happy shooting in any dust storm!