
When choosing acoustic treatment kits for your creator studio, you often miss key factors that can affect sound quality. Many overlook the importance of bass traps, strategic panel placement, and thorough treatment that includes ceilings and floors. Ignoring these aspects can lead to muddied audio that compromises your recordings. Remember, your room’s unique dimensions also matter. By understanding these elements, you can make better decisions for a clearer sound. There’s much more to uncover about optimizing your space.
Key Takeaways
- Many buyers overlook the importance of balancing soundproofing with acoustic treatment for optimal audio quality in creator studios.
- Strategic panel placement at first reflection points is often neglected, leading to echoes and muddied sound.
- Most kits lack essential bass traps, which are crucial for managing low-frequency sounds and achieving a balanced mix.
- Buyers frequently ignore treatment for ceilings and floors, which also significantly affect overall room acoustics.
- A one-size-fits-all approach is ineffective; analyzing unique room dimensions and materials is essential for tailored acoustic solutions.
When you’re setting up your creator studio, effective acoustic treatment can make all the difference in sound quality. You might think that simply throwing up some foam panels will do the trick, but there’s more to it than that. Many buyers overlook essential aspects of acoustic treatment kits, especially when it comes to understanding room acoustics. It’s not just about blocking outside noise; it’s about managing the sound within your space.
First off, reflect on the difference between soundproofing solutions and acoustic treatment. Soundproofing aims to prevent sound from entering or leaving your studio, while acoustic treatment focuses on how sound behaves within the room. While you may want to keep unwanted noise at bay, neglecting the room’s acoustics can lead to muddied sound that doesn’t translate well in recordings or live settings. You need to strike a balance between the two.
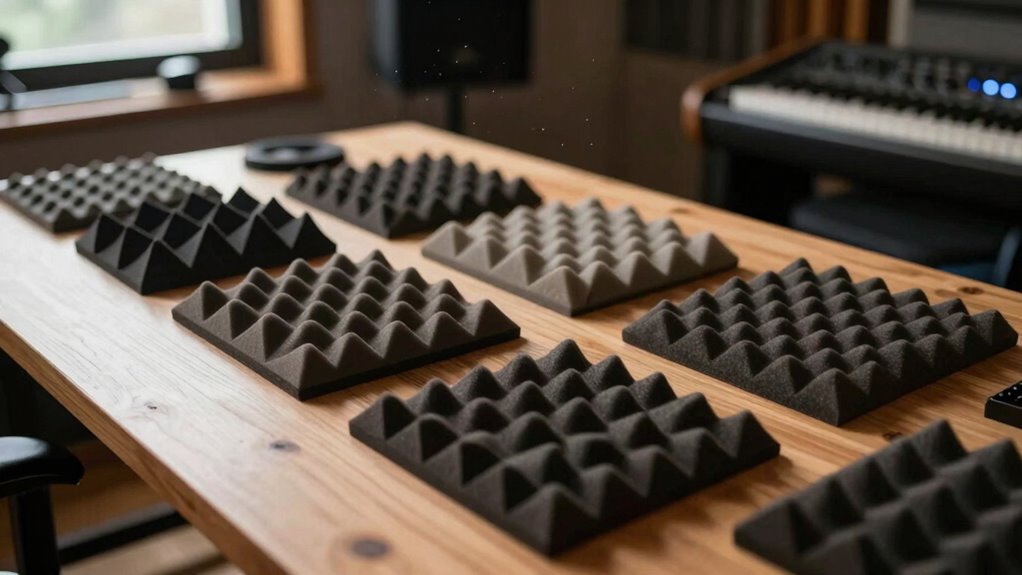
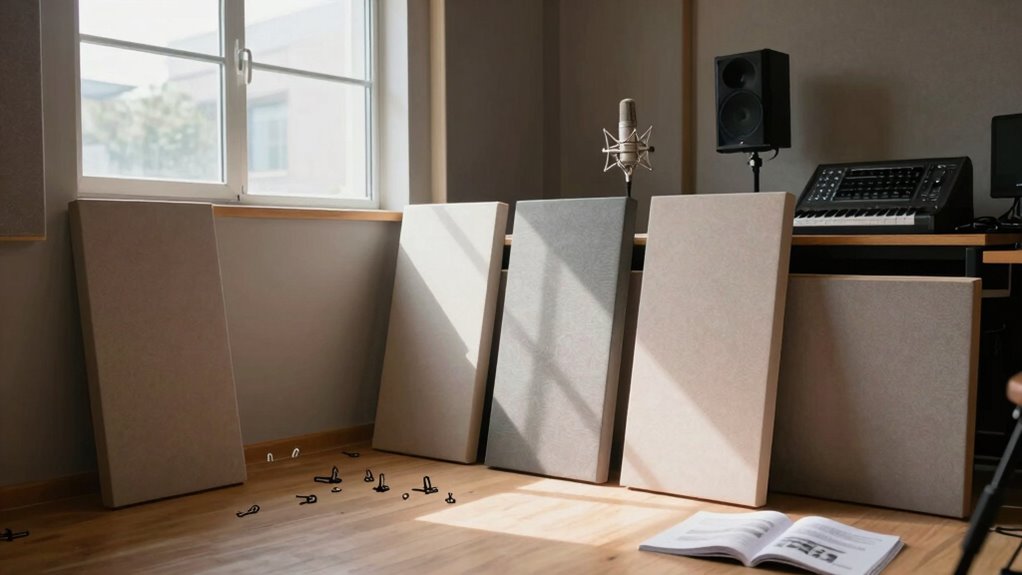
Most buyers tend to focus on the aesthetics of acoustic panels rather than their placement and function. Just slapping panels on the walls won’t guarantee better sound. You need to think strategically about where to place them. For example, positioning panels at first reflection points can greatly improve clarity. You might not realize it, but the way sound waves bounce around your room can create echoes and muddy the audio, ruining your recordings.
Another common oversight is the lack of bass control. Many kits fail to include bass traps, which are essential for managing low frequencies. If your studio is filled with booming bass sounds, it can overwhelm your mix and make it difficult to produce high-quality audio. Investing in a kit that includes bass traps is crucial for achieving a balanced sound.
Don’t forget about the ceiling and floor either. These surfaces can reflect sound just as much as walls do. You might want to think about ceiling treatment or even area rugs for hardwood floors to absorb sound effectively. Additionally, understanding how room acoustics influence sound behavior can help you make better decisions when designing your studio space. Recognizing the room dimensions and materials used can significantly impact how sound waves interact within the space.
Lastly, remember that not all rooms are created equal. Your studio’s dimensions and materials play an important role in how sound behaves. A one-size-fits-all approach won’t work. Take the time to analyze your space and choose a kit that addresses its unique challenges.
As an affiliate, we earn on qualifying purchases.
Frequently Asked Questions
How Do I Know Which Size Kit I Need?
To know which size kit you need, start by measuring your room dimensions. Calculate the square footage and consider the acoustic panel sizing that fits your space. Generally, larger rooms require more panels for effective treatment. Check the manufacturer’s recommendations based on your dimensions to determine how many panels you’ll need. Don’t forget to think about where you’ll place them for the best sound quality in your studio.
Can I Use Acoustic Panels in Non-Studio Spaces?
Absolutely, you can use acoustic panels in non-studio spaces like your home office or living room. Think of them as sound-absorbing superheroes, battling echo and noise pollution. By placing them strategically, you’ll enhance your space’s acoustics, making it cozier and more productive. Whether you’re on a video call or enjoying music, these panels can transform your environment, creating a more pleasant auditory experience. So, don’t hesitate to get creative with your setup!
How Do I Install Acoustic Treatment Without Damaging Walls?
To install acoustic treatment without damaging walls, you can use various installation methods like adhesive strips or removable hooks. These options protect your walls while guaranteeing stability. If you prefer a more secure approach, consider using wall-mounted brackets with felt pads to minimize damage. Always test a small area first to verify your chosen method doesn’t harm the paint or surface. This way, you can enjoy better sound without the worry of wall protection.
What Materials Are Best for DIY Acoustic Treatments?
For DIY acoustic treatments, you’ll want to focus on effective sound absorption materials. Consider options like foam panels, which are lightweight and easy to install. Rockwool or fiberglass panels provide excellent absorption and can be covered with fabric for a polished look. You might also use heavy curtains or carpets to dampen sound. Experimenting with these material options can dramatically improve your studio’s acoustics without breaking the bank.
How Often Should I Replace My Acoustic Treatment Panels?
You should replace your acoustic treatment panels every 5 to 10 years, depending on their material and use. Watch for replacement signs like visible wear, sagging, or a noticeable decrease in sound absorption. If you notice your studio’s acoustics changing, it might be time for an upgrade. Regularly checking your panels guarantees you maintain peak sound quality, so don’t overlook their condition as you create your best work.
As an affiliate, we earn on qualifying purchases.
Conclusion
So, you think grabbing an acoustic treatment kit is all you need for your studio, huh? Ironically, while these kits promise to elevate your sound, it’s easy to overlook placement and room dynamics. You might end up with fancy foam panels that do little more than look good on your walls. Remember, it’s not just about what you buy; it’s about how you set it up. Sometimes the best sound isn’t in the kit—it’s in the details you miss.
first reflection point acoustic panels
As an affiliate, we earn on qualifying purchases.
As an affiliate, we earn on qualifying purchases.
ceiling and floor acoustic treatment
As an affiliate, we earn on qualifying purchases.
As an affiliate, we earn on qualifying purchases.