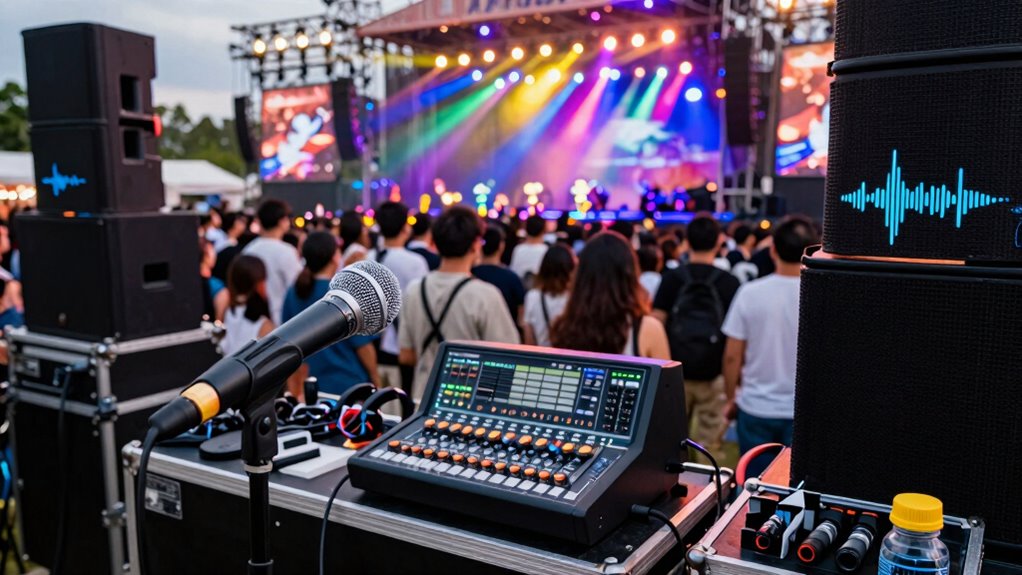

To capture clean audio at loud venues, focus on selecting noise-canceling or directional microphones and place them close to your source, avoiding reflective surfaces. Use windshields and filters to reduce environmental noise, and set your gains carefully to prevent distortion. Experiment with positioning and settings, adjusting for the specific environment. By applying proper techniques and equipment, you’ll guarantee clearer sound even amidst chaos—keep exploring so you can master these skills for your next event.
Key Takeaways
- Use directional or shotgun microphones positioned close to the sound source to minimize ambient noise.
- Employ windshields, pop filters, and physical barriers to reduce environmental and wind noise.
- Adjust gain levels carefully to prevent distortion and ensure balanced audio capture.
- Choose noise-canceling or cardioid microphones to focus on the main sound and reject background noise.
- Monitor audio levels continuously and make real-time adjustments based on venue acoustics.

Camera Microphone,Comica CVM-VM10II Professional Video Microphone with Shock Mount, Deadcat,Compact Shotgun Mic Compatible with iPhone,DSLR Camera,Android Smartphones- Perfect for TikTok YouTube Vlog
- Universal Compatibility: Supports most 3.5mm devices
- Battery-free Operation: Powered directly from device
- Mini Cardioid Pattern: Reduces background noise effectively
As an affiliate, we earn on qualifying purchases.
As an affiliate, we earn on qualifying purchases.
How Loud Venues Affect Your Audio Quality
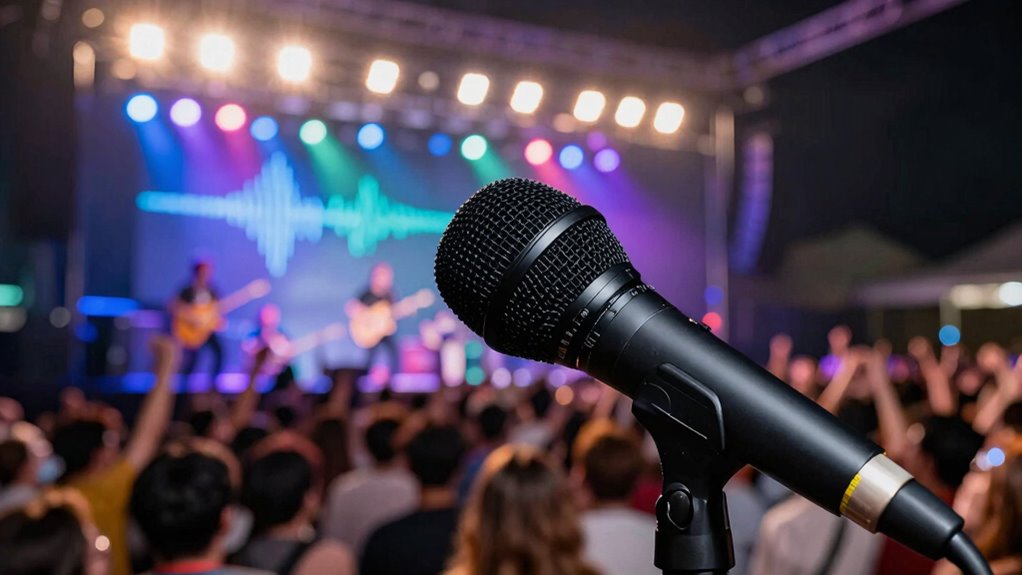
Loud venues can substantially degrade your audio quality if you’re not prepared. Venue acoustics play a vital role; poor acoustics can cause echoes and muddle sound clarity, making your recordings difficult to understand. Additionally, crowd noise can overpower the primary audio source, especially when you’re recording live events. The ambient noise from the audience creates a constant background hum that’s hard to eliminate later. If you’re not cautious, this noise can drown out vocals or instrument sounds, resulting in a muddy, unclear recording. Recognizing these challenges helps you plan better. You might need to position yourself strategically or use directional microphones to minimize unwanted sounds. Being aware of venue acoustics and crowd noise is essential to capturing cleaner, more professional audio in loud environments. Understanding how Venue acoustics influence sound quality can help you adapt your recording techniques effectively. Considering sound treatment options or portable sound barriers can further improve your recordings in challenging environments. Exploring acoustic analysis before the event can also help identify potential acoustic issues and inform your setup. Conducting a quick venue assessment can help you identify the best spots to minimize these issues from the start. Additionally, familiarizing yourself with the venue’s acoustic properties in advance can lead to more informed decisions about microphone placement and equipment choices.

Phenyx Pro Dual UHF Auto Scan Handheld Wireless Microphone System PTU-71-2H
- Auto Scan for Interference-Free Signal: Rapidly finds least-interference frequency
- Up to 16 Transmitters Simultaneously: Supports 2 channels with 100 frequencies each
- Long-Range Wireless Operation: Effective up to 328 feet line of sight
As an affiliate, we earn on qualifying purchases.
As an affiliate, we earn on qualifying purchases.
Choosing the Right Equipment for Noisy Recording
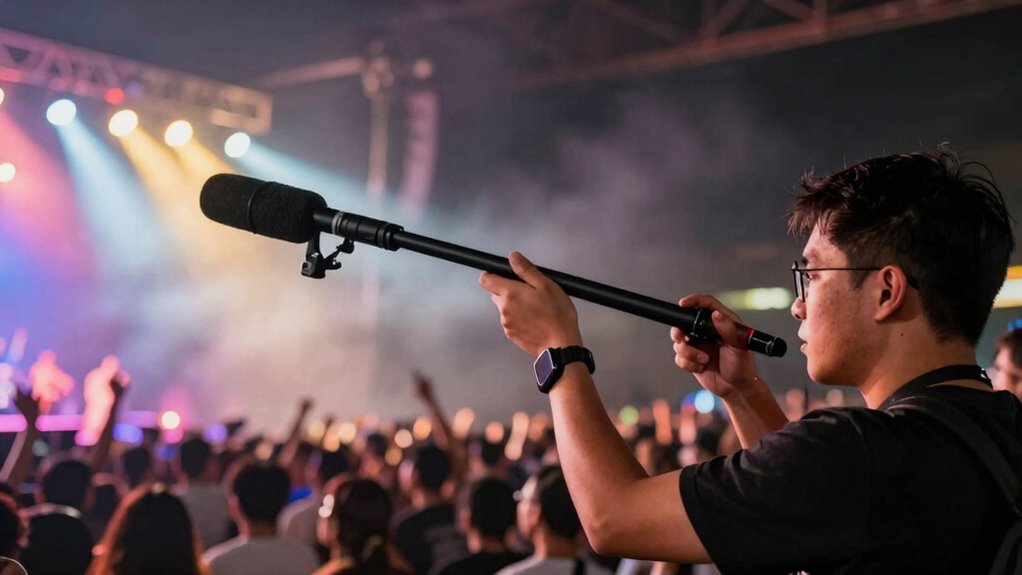
When recording in noisy environments, choosing the right equipment makes all the difference. Noise-canceling microphones help reduce background sounds, while directional pickups focus on your main source. Don’t forget to use wind and shield filters to minimize unwanted noise and protect your gear. Incorporating sustainable practices in your recording setup can also help minimize environmental impact. Being aware of regional culture and environmental considerations can guide you in selecting eco-friendly gear options and recording methods. Considering festival safety guidelines can further ensure your equipment remains protected during unpredictable conditions.
Selecting Noise-Canceling Microphones
Choosing the right noise-canceling microphone can make a significant difference when recording in noisy environments. Look for options with wireless connectivity to avoid cable clutter and enhance mobility, especially at loud venues. Prioritize microphones with long battery life so you won’t be interrupted mid-recording. A good noise-canceling mic will focus on reducing ambient noise, allowing your voice to come through clearly. Wireless mics with extended battery life help you stay confident during long events, ensuring consistent performance. Check for models that offer reliable signal stability and user-friendly controls. Investing in a microphone with these features means you can concentrate on capturing clean, professional audio without being hindered by background noise or power concerns.
Prioritizing Directional Pickups
To effectively capture audio in noisy environments, prioritizing directional pickups is essential, as they focus on sound coming from a specific direction while minimizing background noise. Proper microphone placement is key; position your microphone so it faces the sound source directly, ensuring ideal sound isolation. Directional microphones, like cardioids or supercardioids, help filter out unwanted ambient noise, making your recordings clearer. Keep the microphone close to the source to maximize sound isolation and reduce bleed from other sounds. Avoid pointing the mic toward noisy areas or reflective surfaces, which can compromise audio quality. By choosing the right microphone and carefully positioning it, you’ll greatly improve clarity, even in loud venues. This targeted approach helps you capture clean, professional-sounding audio.
Using Wind and Shield Filters
Using wind and shield filters is crucial for capturing clear audio in noisy environments, especially outdoors or in windy conditions. A wind shield, often made of foam or furry materials, slips over your microphone to block wind noise that can distort recordings. This is essential when recording in open areas where gusts can cause unwanted rumble. A pop filter, typically placed in front of the mic, helps reduce plosive sounds like “p” and “b” that can cause distortion. Together, these filters improve sound clarity by minimizing environmental noise and unwanted airflow. Investing in quality wind shields and pop filters ensures your audio remains clean and professional, even in challenging outdoor settings. Proper use of these tools makes a noticeable difference in noisy recording situations. Additionally, understanding noise reduction techniques can further enhance your audio quality in difficult environments.

15 Pack Foam Microphone Windscreen, Lapel Headset Microphone Sponge Mini Foam Cover Shield Protection for Variety of Headset (Black)
- Size: 30×22mm foam covers
- Material: High-quality durable foam
- Function: Reduces noise and wind interference
As an affiliate, we earn on qualifying purchases.
As an affiliate, we earn on qualifying purchases.
How to Position Microphones for Noise Reduction
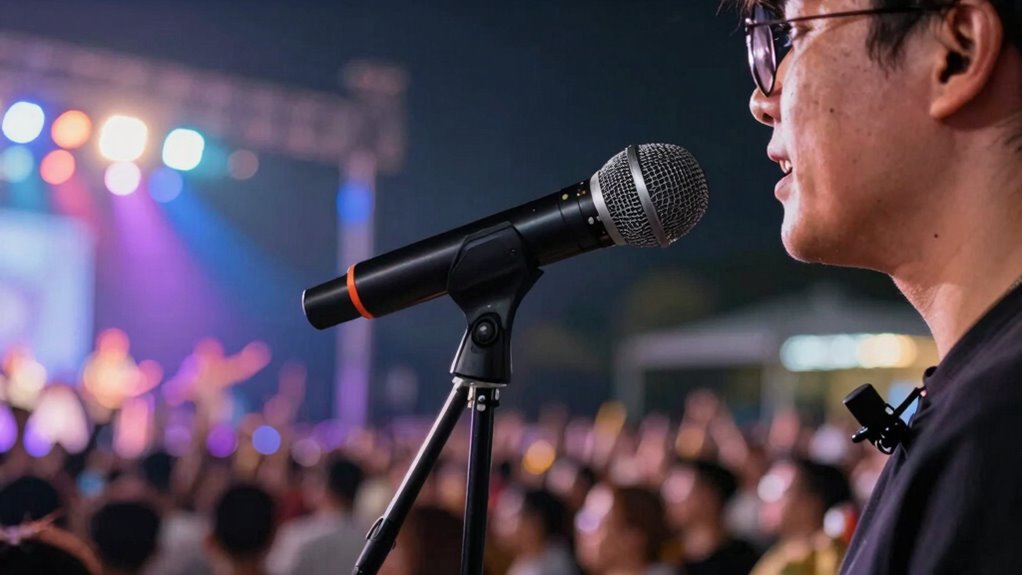
Proper microphone placement is essential for minimizing unwanted noise and capturing clear audio. To achieve ideal noise isolation, position your microphone close to the sound source, but avoid direct contact that could cause distortion. Use directional microphones, like cardioid or supercardioid types, to focus on the main sound and reject ambient noise. Angle the mic slightly away from noisy sources, such as speakers or crowds, to reduce bleed. Elevate or lower the microphone to avoid capturing low-frequency hums or high-pitched background sounds. Keep the microphone steady and consistent in its positioning throughout the event. Proper placement ensures you isolate the desired sound, reducing background interference and improving overall audio clarity.
portable sound barrier for loud venues
As an affiliate, we earn on qualifying purchases.
As an affiliate, we earn on qualifying purchases.
Using Settings and Filters to Clarify Your Sound
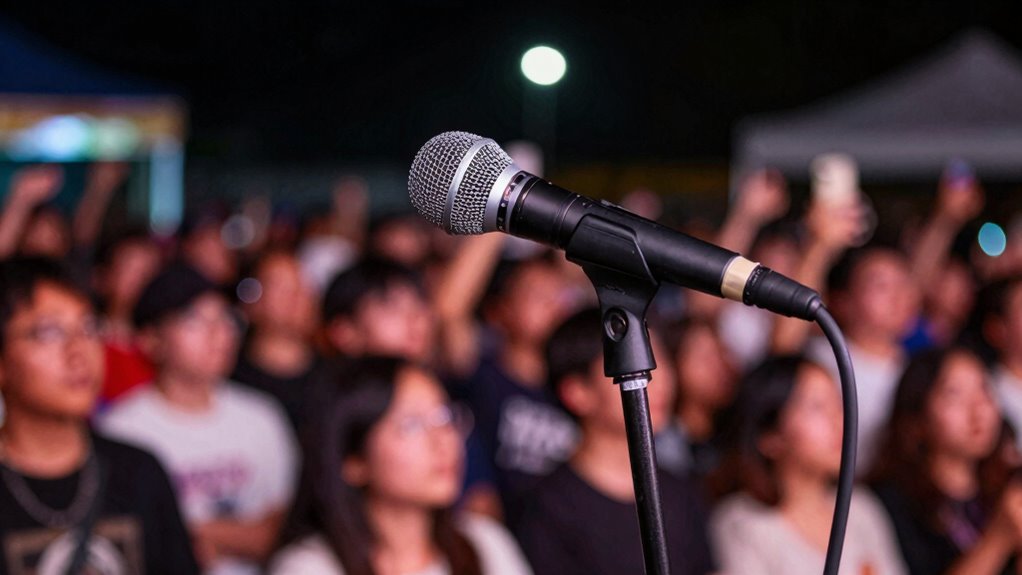
Adjusting your audio settings and applying filters can make a significant difference in clarifying your sound. You can target specific audio frequencies to reduce unwanted noise and enhance clarity. Filters help shape the sound wave, emphasizing vocals or instruments while cutting out background noise. A useful technique is to identify and spot passive voice in your recordings, which can sometimes make audio sound less natural or clear. Using EQ adjustments can further refine your sound by balancing different frequency ranges to suit loud environments. Additionally, understanding sound wave shaping can help you better tailor your audio to the environment, ensuring a clearer audio experience in challenging settings. Incorporating knowledge of home robotics and automated cleaning solutions can also inspire innovative approaches to managing ambient noise and optimizing sound quality.
Recording Techniques for Challenging Environments

Recording techniques for challenging environments, using directional microphones helps focus on your sound source and cut out unwanted noise. Wind protection methods, like windscreens or dead cats, prevent wind noise from ruining your audio. Make sure to adjust your gain settings properly to avoid distortion while capturing clear, balanced sound. Additionally, choosing the right microphone type for your environment can significantly improve your audio quality. Properly selecting the appropriate equipment ensures optimal results in difficult settings. Understanding sound isolation techniques can also help minimize ambient noise and enhance overall recording clarity. Exploring latest audio gear can provide innovative solutions tailored for tough recording conditions. Considering small wood stoves as a source of ambient sound can sometimes add warmth and character to your recordings, if managed carefully.
Use Directional Microphones
Have you ever struggled to capture clear audio in noisy or unpredictable environments? Using directional microphones can help you achieve better sound isolation by focusing on your intended source and reducing ambient noise. Proper microphone placement is essential; position the mic close to the sound source, pointing directly at it. This technique also helps prevent sound leakage, ensuring that unwanted sounds do not bleed into your recording. To maximize effectiveness:
- Choose microphones with hyper-cardioid or shotgun patterns for increased focus.
- Keep the mic aligned with the sound source, avoiding angles that pick up excess noise.
- Experiment with distance—closer placement improves sound isolation but avoid proximity effects.
- Understanding sound source isolation techniques can further improve your recordings in challenging environments, especially by utilizing polar patterns to control pickup angles. Additionally, selecting the right microphone type can significantly enhance your ability to capture clean audio in difficult settings.
Employ Wind Protection Methods
Wind can be a major challenge when recording outdoors or in breezy environments, often causing unwanted noise that ruins the audio quality. To combat this, employ wind protection methods like wind barriers or shield materials. Wind barriers, such as portable screens or blankets, block airflow before it reaches your microphone. Shield materials, like foam windscreens or furry “dead cats,” are designed specifically to reduce wind noise. Attach these shields directly to your microphone or set up physical barriers around the recording area. Make certain the shield covers the microphone completely without obstructing sound pickup. Using effective wind protection not only improves audio clarity but also minimizes distractions caused by wind rumble. Properly employing these methods ensures cleaner recordings even in challenging outdoor conditions. Additionally, understanding microphone placement can significantly reduce the impact of wind noise on your recordings. Employing proper microphone positioning can further enhance your ability to capture clear audio in windy environments.
Adjust Gain Settings Properly
Adjusting your microphone’s gain settings is essential for capturing clear audio in challenging environments. Proper gain calibration guarantees your recordings aren’t too quiet or distorted by loud sounds. To achieve this, start by setting your gain at a low level and gradually increase it while monitoring the input. Focus on volume balancing, making sure loud sounds don’t clip, and quieter sounds remain audible.
Consider these steps:
- Use headphones to listen closely as you adjust gain, avoiding over-amplification.
- Test with the loudest expected sound to prevent clipping.
- Fine-tune the gain to maintain consistent levels across different instruments or voices.
Post-Production Tips to Clean Up Your Audio

Once you’ve recorded your audio, the next step is to clean it up using effective post-production techniques. Start with audio editing to remove unwanted sections or background noise. Use noise reduction tools to minimize hums, static, or crowd sounds that snuck in during recording. Focus on preserving the clarity of your main audio while reducing distractions. Equalization can also help enhance vocals and reduce harsh frequencies. Apply gentle compression to balance volume levels without causing distortion. Always listen carefully after each adjustment to guarantee your edits improve the overall sound quality. Remember, subtle adjustments often yield the best results. Properly cleaned-up audio makes your recordings more professional and enjoyable for listeners, even in loud environments.
Common Mistakes to Avoid When Recording at Loud Events
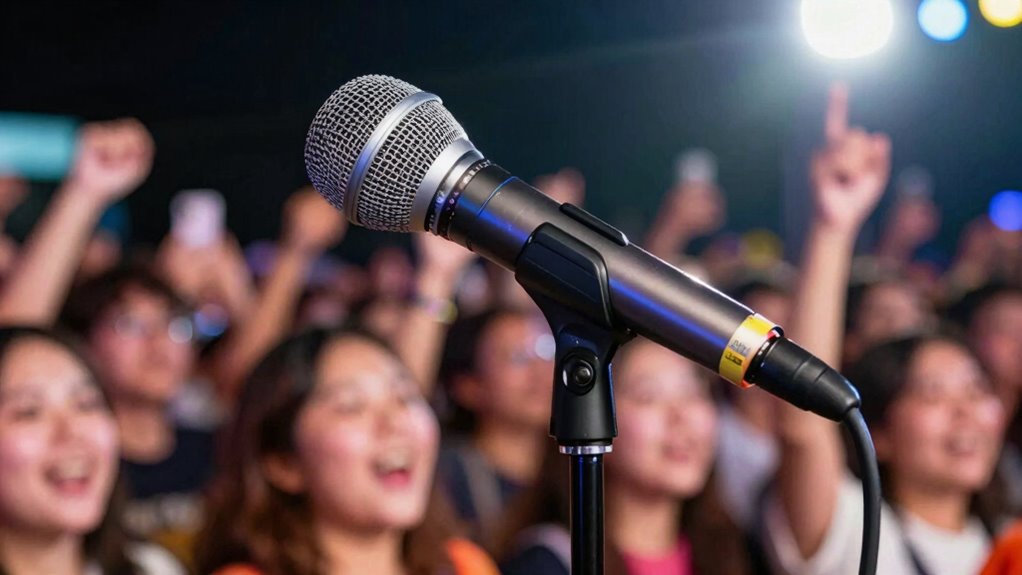
After cleaning up your audio in post-production, it’s important to recognize common mistakes that can undermine the quality of recordings at loud events. One mistake is neglecting venue acoustics, which can cause excessive echo or muffled sound. Pay attention to the environment to optimize your setup. Another error is ignoring audience engagement, leading to recordings that miss the energy and atmosphere of the event. Use proper microphone placement to capture crowd reactions. Finally, avoid setting your gain levels too high, which can cause clipping and distortion. Properly managing levels ensures clear, balanced sound. Being mindful of these pitfalls helps preserve the essence of loud venues while maintaining audio clarity, making your recordings more professional and engaging for listeners.
Frequently Asked Questions
How Do Wind and Weather Conditions Impact Audio Clarity at Loud Venues?
Wind interference and weather effects can greatly impact your audio clarity at loud venues. Wind gusts can cause noise and distort your recordings, making dialogue hard to understand. Rain, humidity, and temperature changes also affect microphone sensitivity and sound quality. To minimize these issues, you should use windshields, weatherproof gear, and position your mics strategically, shielding them from wind and adverse weather conditions to guarantee cleaner, clearer audio.
What Are the Best Portable Recorders for Capturing Clear Sound in Noisy Environments?
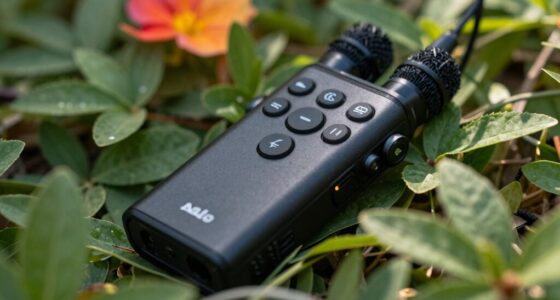
Did you know that the Zoom H6 recorder offers up to 20 hours of battery life? For noisy environments, it’s one of the best portable recorders because of its multiple microphone placement options and excellent sound quality. You’ll want to position the microphones carefully to minimize background noise. Its long battery life guarantees you can record extended events without interruptions, making it a reliable choice for capturing clear sound in loud venues.
Can Specific Clothing or Gear Help Reduce Background Noise During Recordings?
Yes, specific clothing and gear can help reduce background noise during recordings. Soundproof clothing, like jackets with noise-canceling materials, can minimize ambient sounds. Noise-reducing accessories, such as windshields, foam covers, or specialized headphones, also block out unwanted noise. Wearing these items helps focus on your primary audio source, ensuring cleaner recordings even in loud environments. Combining soundproof clothing with noise-reducing accessories is an effective way to improve sound quality.
How Can I Protect My Equipment From Damage in High-Volume Settings?
Imagine you’re at a loud concert, and your gear suddenly gets knocked over. To safeguard your equipment, use shock mounts and sturdy cases, preventing damage from sudden impacts. Regular equipment maintenance ensures all parts stay functional, while insurance coverage offers peace of mind against costly repairs. Always keep your gear secure, and double-check your setup before recording, so you’re prepared for any high-volume setting.
What Are the Legal Considerations for Recording Audio at Live Events?
You need to be aware of legal restrictions and consent requirements when recording audio at live events. Always check local laws, as recording without permission may be illegal. Some venues or events require explicit consent from performers or attendees. To avoid legal issues, get written permission whenever possible, and respect privacy rights. Being informed about these considerations helps you record responsibly and stay compliant with regulations.
Conclusion
Remember, good audio at loud venues isn’t just about equipment—it’s about your technique and patience. Stay mindful of your surroundings, experiment with settings, and don’t be afraid to try different placements. As the saying goes, “Practice makes perfect.” With consistent effort and attention to detail, you’ll capture clearer, more professional sound even in the noisiest environments. Keep learning, keep recording, and your skills will only improve over time.