
The key to fast editing is organizing your footage early with clear labels, folders, and color codes, so you can quickly find what you need. Use markers to highlight key moments and build a quick draft to see your sequence flow. Focus on maintaining good continuity, editing for smooth progression, and prioritizing essential clips. Keep refining until your pacing feels natural. Stick with these strategies, and you’ll discover even more ways to speed up your editing process.
Key Takeaways
- Organize and label clips early to streamline access and reduce search time during editing.
- Use markers to identify key moments, aiding quick navigation and efficient sequencing.
- Build a rough draft focusing on pivotal scenes to establish flow before refining details.
- Focus on timing and transitions to maintain momentum and ensure smooth scene progression.
- Keep the editing process simple initially, adding polish only after establishing a cohesive sequence.
professional video editing clips organizer
As an affiliate, we earn on qualifying purchases.
As an affiliate, we earn on qualifying purchases.
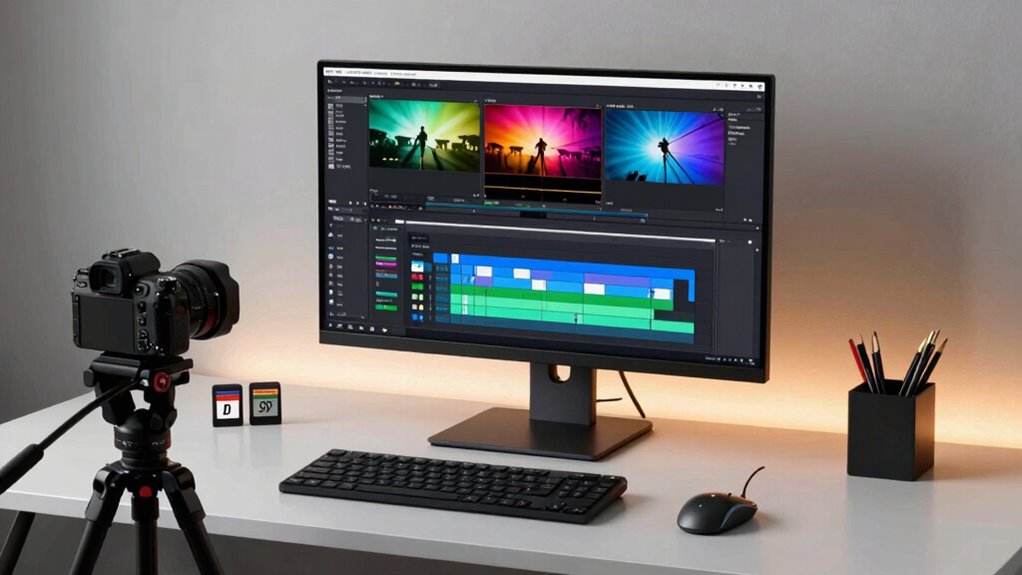
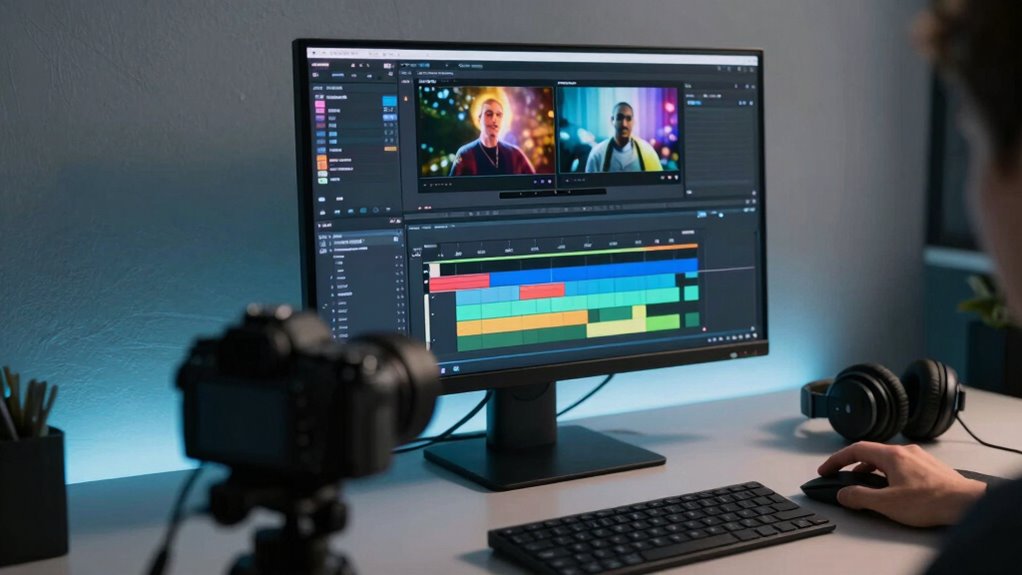
Organize Your Footage for Faster Editing
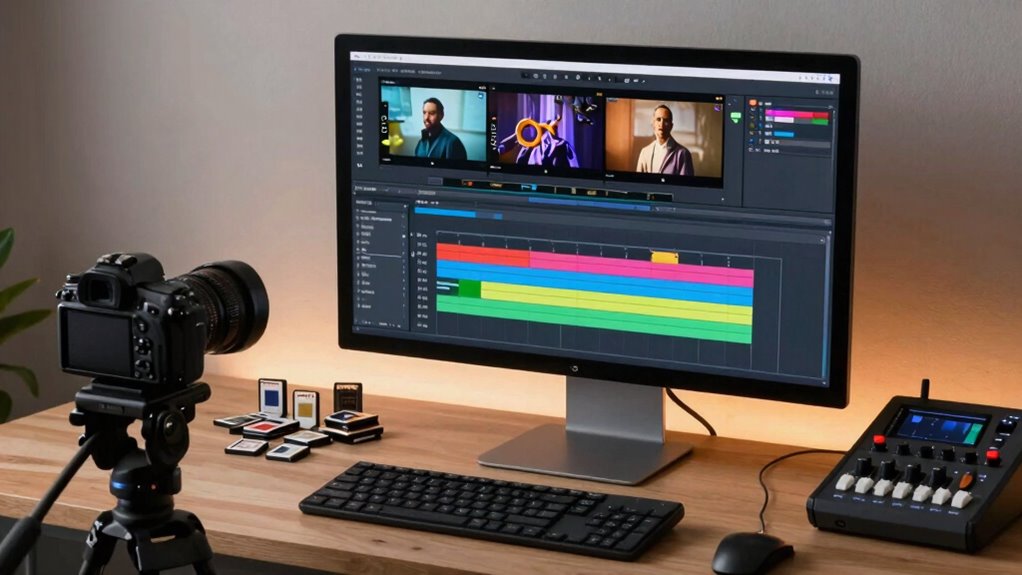
Have you ever spent more time searching for the right clip than actually editing? It’s common when your footage isn’t organized. Start by labeling clips with descriptive names, so you can find them quickly. Group similar shots together—like action scenes or close-ups—using folders or bins. Before diving into editing, do basic color correction on your clips to create a consistent look, which speeds up the process later. Pay attention to sound design too; label clips with clear audio cues or effects. This way, you can easily locate and enhance audio elements without wasting time. When everything’s sorted, your workflow becomes smoother, letting you focus on the creative side rather than hunting for clips. Organized footage makes the entire editing process faster and more efficient. Additionally, understanding how to sequence clips properly ensures a seamless narrative flow, further enhancing your editing speed and quality. Recognizing the importance of Organized footage helps you implement these strategies more effectively. Using workflow optimization techniques can also help streamline your editing process even further. Incorporating efficient editing practices enables you to work more quickly without sacrificing quality.
Sharpie 22480PP Flip Chart Markers, Bullet Tip, Assorted Colors, 16 Markers
As an affiliate, we earn on qualifying purchases.
As an affiliate, we earn on qualifying purchases.
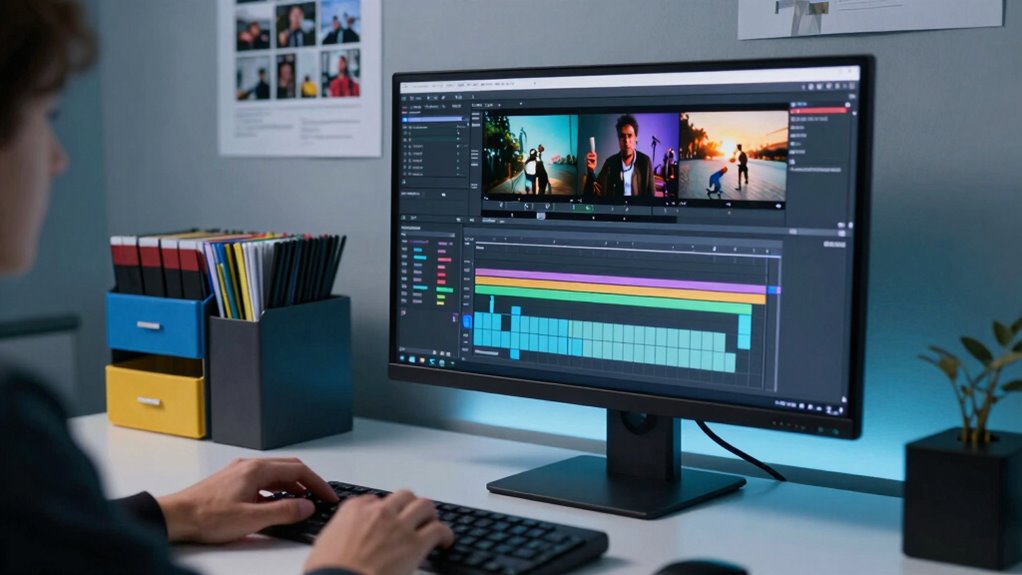
Use Markers and Bins to Sort Clips Efficiently
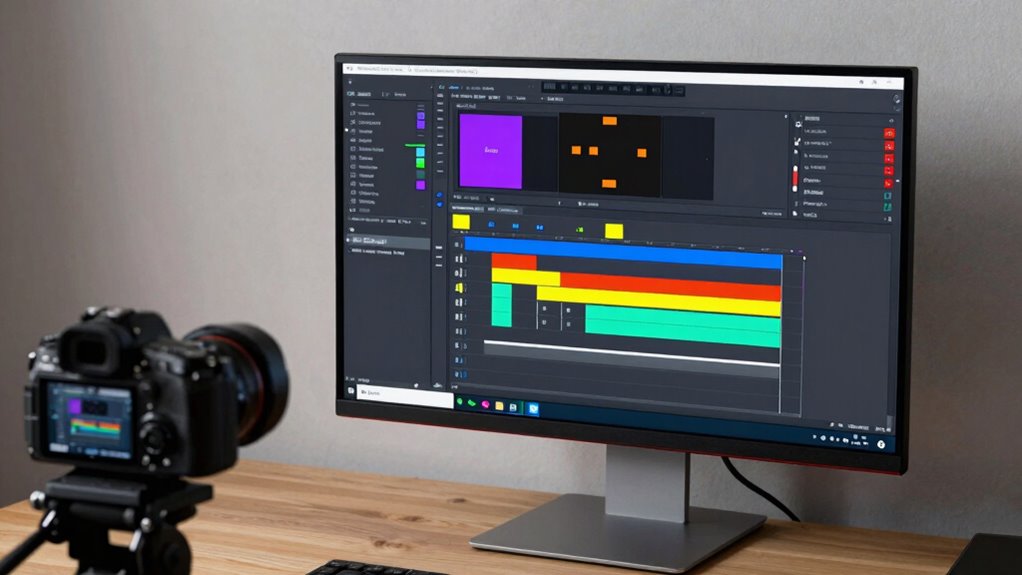
Using markers and bins helps you organize your clips quickly and effectively. Markers let you label important moments, while bins group similar files for easy access. This approach boosts your workflow and keeps your editing process smooth. Incorporating these tools can also enhance your visual storytelling by clearly highlighting key scenes and themes.
Organize Clips With Markers
Organizing your clips with markers can markedly streamline your editing process. By placing markers at key points—like moments for color grading or audio synchronization—you can quickly locate important sections. This method helps you avoid wasting time searching through footage. Use different colors for specific tasks, such as red for clips needing color grading adjustments or blue for segments requiring audio sync. Markers also serve as visual cues to maintain consistency across your project. Additionally, you can label markers with notes to remind yourself of editing priorities. Incorporating markers into your workflow keeps you focused and efficient. Remember, well-placed markers make sequencing faster and guarantee you don’t miss critical details, ultimately leading to a smoother, more organized edit. Utilizing content management techniques can further enhance your ability to organize and protect your footage effectively.
Categorize Files Using Bins
Once you’ve marked key points in your clips, the next step is to sort them efficiently with bins. Bins help you organize footage by categories like color grading, audio synchronization, or shot type, making it easier to find what you need quickly. Create bins for different scenes or themes to keep your project streamlined. Use color labels to visually differentiate clips within bins, speeding up your workflow. For example, clips requiring color grading can go into a specific bin, while those needing audio sync adjustments are grouped elsewhere. This method keeps your timeline clutter-free, and when it’s time to edit, you can focus on the right clips without wasting time searching. Bins are essential for maintaining an organized, efficient editing process.
Improve Workflow Efficiency
To boost your editing speed, leverage markers and bins together to sort your clips efficiently. Markers help you identify key moments—like color grading points or sound design cues—so you can quickly locate them later. Bins organize these clips into categories, such as scenes or audio types, reducing search time. Use color-coded markers for visual cues, making it easier to spot clips needing color correction or sound adjustments. Combining markers and bins streamlines your workflow, letting you focus on refining details without wasting time hunting for files. This setup ensures smoother sequencing, faster edits, and a more organized project overall.
- Label clips with markers for quick access to color grading or sound design notes
- Create bins for different scene types or audio tracks
- Use color markers to differentiate clips requiring specific adjustments

Youngever 3 Pack File Folder Bin Storage, Plastic File Folder Bin Organizer with Handle (Black)
Plastic File Folder Bin Storage – 3 pack black plastic file folder bin organizer with handle.
As an affiliate, we earn on qualifying purchases.
As an affiliate, we earn on qualifying purchases.
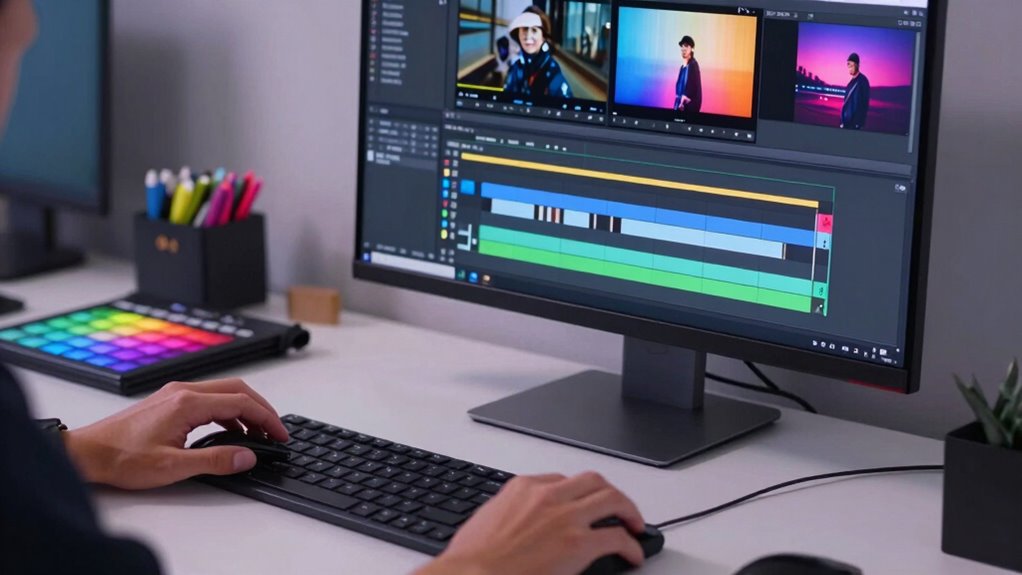
Create a Quick Draft to Build Your Sequence
Creating a quick draft helps you organize clips effectively and identify key moments early on. Focus on the most important parts to build a solid foundation for your sequence. This approach saves time and keeps your edit focused on what matters most.
Organize Clips Effectively
Starting with a quick draft is essential because it helps you visualize the overall flow of your sequence without getting bogged down in details. To keep your project moving, organize your clips logically, making it easier to find what you need. Name your clips clearly, so you can quickly identify shots during editing. Group similar footage to streamline color grading and guarantee consistent look. Don’t forget to keep sound design clips handy, so you can add or adjust audio seamlessly later on.
- Label clips with descriptive names for easy access
- Create bins or folders for different scenes or types of footage
- Prioritize clips that set the tone for color grading and sound design early on
Focus on Key Moments
When building your sequence, focusing on key moments early on helps establish the story’s core and guides your editing decisions. Identify the pivotal scenes or shots that define the narrative and emphasize them in your timeline. This focus helps streamline your workflow, making color grading more targeted and effective, as you can adjust tones to highlight emotional peaks. Pay close attention to audio synchronization, ensuring that dialogue and sound effects align perfectly with these moments, reinforcing their impact. By concentrating on these essential segments first, you create a strong foundation for the rest of your edit. Incorporating smart editing techniques can further enhance efficiency and ensure your story flows seamlessly. This approach allows you to build momentum quickly, making it easier to refine transitions and craft a cohesive, compelling story.

Affinity Photo Editor 2025 Guidebook: A Comprehensive Handbook for Novices and Experts on Image Editing Tools, Techniques, and Workflow Optimization
As an affiliate, we earn on qualifying purchases.
As an affiliate, we earn on qualifying purchases.
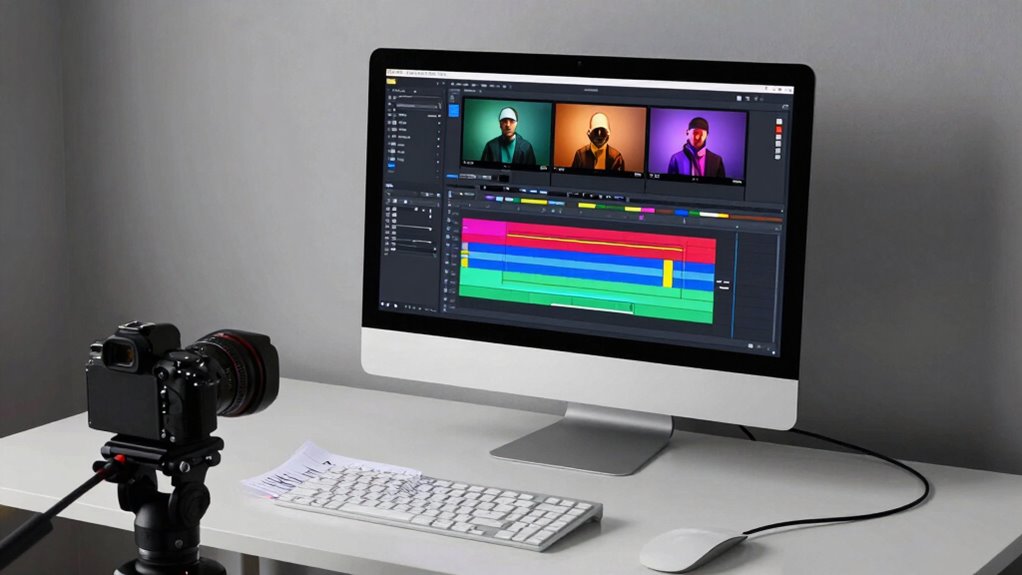
Focus on Continuity and Narrative Flow
Maintaining continuity and a smooth narrative flow is essential when sequencing clips, as it guides viewers seamlessly through the story without confusion. You want your cuts to feel natural, which means paying attention to sound design and color grading. Keep audio consistent so dialogue and ambient sounds align, preventing jarring shifts. Use color grading to match scenes, creating visual cohesion that supports the story’s mood. Additionally, understanding content organization can help you plan your edits more effectively, ensuring each clip contributes meaningfully to the overall narrative. Use subtle visual cues to maintain narrative coherence and keep viewers engaged. Recognizing visual storytelling techniques can further enhance the seamless flow and emotional impact of your edit, much like regular pool maintenance ensures a clear and inviting swimming experience. Being aware of number formatting principles can also assist in presenting your story in a clear and professional manner, especially when incorporating on-screen graphics or textual information. Paying attention to audio consistency can make a significant difference in creating a cohesive viewing experience.
Refine Transitions for a Smooth, Fast Edit
Refining shifts is key to creating a smooth, fast-paced edit that keeps viewers engaged. To do this effectively, focus on timing adjustments between clips. Small tweaks in changeover timing can eliminate jarring jumps and enhance flow. Use changeover smoothing techniques, like crossfades or quick cuts, to create seamless changes. Adjust the duration of each clip and changeover to match the rhythm and energy you want to convey. Don’t be afraid to experiment with different timing adjustments until the flow feels natural. The goal is to make each changeover feel effortless, guiding viewers smoothly from one scene to the next without interruption. Careful refinement ensures your fast edit maintains momentum without sacrificing clarity or coherence. Additionally, understanding content flow and how it guides viewer engagement can help you make more effective timing choices. Recognizing the importance of transition timing can further improve the overall pacing of your edit.
Strategies to Keep Your Workflow Speedy and Quality High
How can you keep your editing workflow both fast and high-quality? The key is to streamline your process with efficient tools and routines. Focus on early organization—label clips and create a rough cut quickly. Use presets for color grading to maintain consistency without wasting time. Incorporate sound design early on, so audio adjustments are integrated into your workflow from the start. This prevents last-minute scrambles and keeps your project cohesive. Additionally, understanding the importance of efficient content organization can significantly improve your editing speed and output quality. Recognizing the value of structured asset management can further enhance your ability to work swiftly and effectively. Being mindful of workflow optimization ensures that every step contributes to a faster, more polished final product, especially when you adopt streamlined editing techniques from the beginning. Incorporating practical systems thinking into your process helps you identify and eliminate bottlenecks, making your workflow more resilient and adaptable.
Wrap Up: Final Tips for Quick and Polished Video Edits
To guarantee your final edit is both quick and polished, focus on a few key finishing touches that can make a big difference. First, review your timing considerations; refining transitions and syncing audio can elevate your video’s flow. Next, perform color grading to unify the look and create a professional feel. Don’t spend too much time perfecting every detail—aim for consistency rather than perfection in the initial pass. Export a short test clip to catch any issues early. Finally, consider adding simple sound design or background music to enhance the mood without overcomplicating the edit. These final steps ensure your project looks cohesive, feels polished, and is delivered efficiently, saving you time without sacrificing quality.
Frequently Asked Questions
How Do I Choose the Best Editing Software for Quick Clip Sequencing?
To choose the best editing software for quick clip sequencing, consider one that offers intuitive timeline management and efficient tools for color grading and audio synchronization. Look for features like real-time preview, keyboard shortcuts, and seamless integration with your camera formats. Popular options like Adobe Premiere Pro or DaVinci Resolve excel in these areas, helping you speed up the process and produce polished edits faster.
What Hardware Setups Optimize Fast Editing Workflows?
You’ll love how hardware upgrades and storage solutions transform your editing speed. Invest in a powerful CPU and ample RAM to handle multiple clips effortlessly. SSD storage is a game-changer, offering lightning-fast read/write speeds that eliminate lag. Don’t forget a dedicated graphics card for rendering. These upgrades streamline your workflow, making fast editing almost too easy—ironic, isn’t it? Your projects will fly together in record time.
How Can I Efficiently Back up Large Projects During Editing?
You can efficiently back up large projects during editing by using external drives and cloud storage. Regularly save copies to an external drive to guarantee local backups, especially during intense editing sessions. Additionally, upload critical files to cloud storage for off-site security and easy access from different devices. Automate backups with software to keep your workflow uninterrupted, and always verify backups to prevent data loss.
Are Keyboard Shortcuts Worth Mastering for Faster Sequencing?
Yes, mastering keyboard shortcuts is definitely worth it for faster sequencing. They markedly boost your editing efficiency by allowing you to perform common tasks—like cutting, trimming, and moving clips—without reaching for the mouse. With practice, shortcuts become second nature, saving you valuable time and keeping your workflow smooth and focused. Investing a little time into learning these commands pays off in quicker, more streamlined editing sessions.
How Do I Manage Large Projects Without Slowing Down My System?
Think of managing large projects like steering a ship through turbulent waters. To keep your system steady, organize your clips into bins, and use proxies for smoother editing. Prioritize tasks like color grading and audio synchronization to avoid overload. Regularly clear cache and close unused apps. This way, you’ll navigate your project efficiently without slowing down, ensuring your system stays responsive, even amid complex sequences.
Conclusion
By organizing your footage, using markers, and focusing on continuity, you can streamline your editing process and create polished videos faster. Remember, does rushing mean sacrificing quality? Not at all—it’s about working smarter, not harder. Keep your workflow efficient, refine your changes, and don’t be afraid to create quick drafts. With these tips, you’ll finish your edits swiftly without compromising the story you want to tell. Ready to cut with confidence?