To plan a drone shot confidently, start by defining your creative vision and setting clear goals for your footage. Scout the location to identify key visual elements and potential hazards, ensuring you stay within legal and safety guidelines. Choose the right gear and settings, map your flight path with smooth movements, and consider lighting and weather conditions. Mastering these steps now will give you a stronger foundation—continue exploring for more expert tips to perfect your drone shots.
Key Takeaways
- Research and understand airspace restrictions, no-fly zones, and permit requirements for your location.
- Define your creative vision, including shot purpose, mood, and key visual elements.
- Scout the location beforehand to identify optimal vantage points and potential hazards.
- Select appropriate gear and camera settings to match your shot’s aesthetic and technical needs.
- Plan a detailed flight path and camera movements to ensure smooth, stable, and story-driven footage.

DJI Mini 3 (DJI RC), Lightweight 3x Mechanical Gimbal Drones with Camera for Adults 4K, 38-min Flight Time, up to 32800ft (10km) Video Transmission, Vertical Shooting, GPS Auto Return Integrated
No Registration Needed – Under 249 g, FAA Registration, and Remote ID are not required if you fly…
As an affiliate, we earn on qualifying purchases.
As an affiliate, we earn on qualifying purchases.
Why Planning Your Drone Shot Is Essential
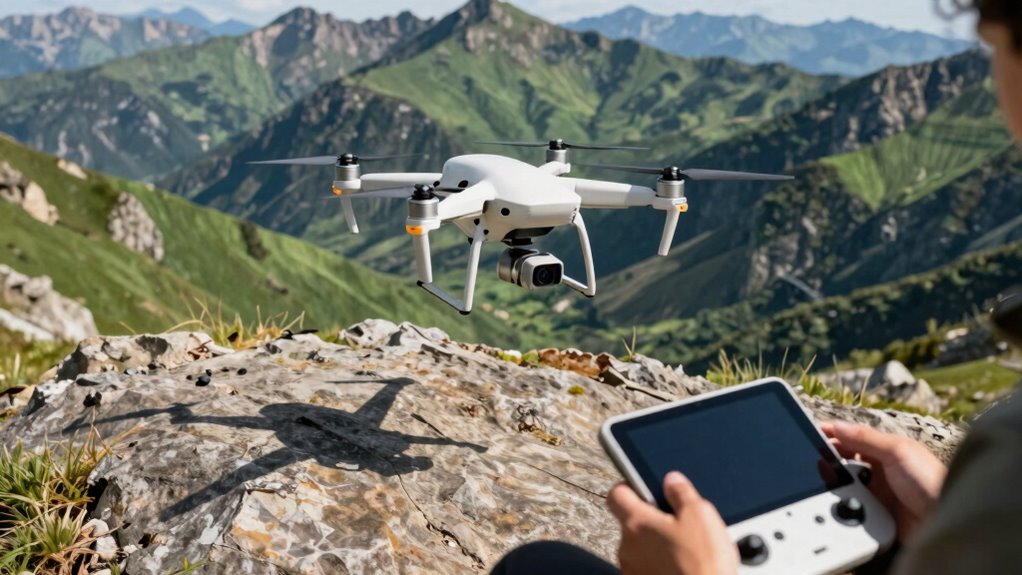
Why is planning your drone shot so vital? Without proper planning, you risk violating drone regulations, which can lead to fines or confiscation. Knowing the rules helps you avoid legal trouble and makes sure your shot is safe and compliant. Insurance requirements also make planning essential; having the right coverage protects you if something goes wrong, like damage to property or injury. When you plan ahead, you identify potential hazards and choose safe flight paths, reducing accidents. It also helps you gather the necessary permits and understand airspace restrictions. By preparing thoroughly, you save time, avoid costly mistakes, and guarantee your drone shot goes smoothly. Proper planning ensures you stay within legal boundaries while capturing stunning footage confidently and responsibly. Additionally, understanding how to navigate airspace restrictions is crucial for a seamless filming experience. Being aware of aerial operation regulations can help you stay compliant and avoid unexpected setbacks.

3-Axis Gimbal GPS Drone with 4K Camera, 90 Min Long Flight Time,3280 FT Long Control Range, Auto Return, Follow Me, Brushless Motor, 5G FPV RC Quadcopter for Beginners(Under 249g)
【3-Axis Professional Stabilizer for Shake Free Cinematic Shots】: Enjoy remarkably steady footage thanks to advanced 3-axis stabilization. Always…
As an affiliate, we earn on qualifying purchases.
As an affiliate, we earn on qualifying purchases.
How to Define Your Creative Vision for Drone Shots

Ever wonder how to turn a simple drone flight into an enthralling visual story? It starts with defining your creative vision. Think about the mood and message you want to convey—do you aim for sweeping landscapes or dynamic urban shots? Clarity here guides your shot choices and angles. Remember, drone safety and legal considerations are vital; verify your vision respects no-fly zones and maintains safe distances. Establish a clear concept that matches your skills and equipment. Visualize key moments and movements that align with your story, then translate these ideas into shot lists or storyboards. This preparation helps you stay focused during flight and keeps your creative process aligned with safety and legal rules.
STARTRC Adjustable Magnetic Phone Stand for DJI RC-N1/N2/N3 Remote Control,for DJI Neo 2/ Avata 360/Mini 5 Pro/ 4 Pro/ 3/ Mini 4K/Air 3S/Avata 2 Drone Accessories
Quick installation: The magnetic phone holder, designed specifically for dji RC-N series remote controls, uses a strong magnetic…
As an affiliate, we earn on qualifying purchases.
As an affiliate, we earn on qualifying purchases.
Scout Your Location and Find Key Visual Elements
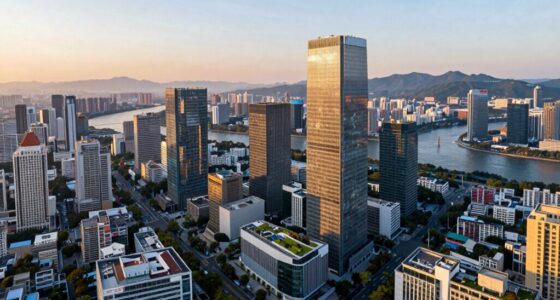
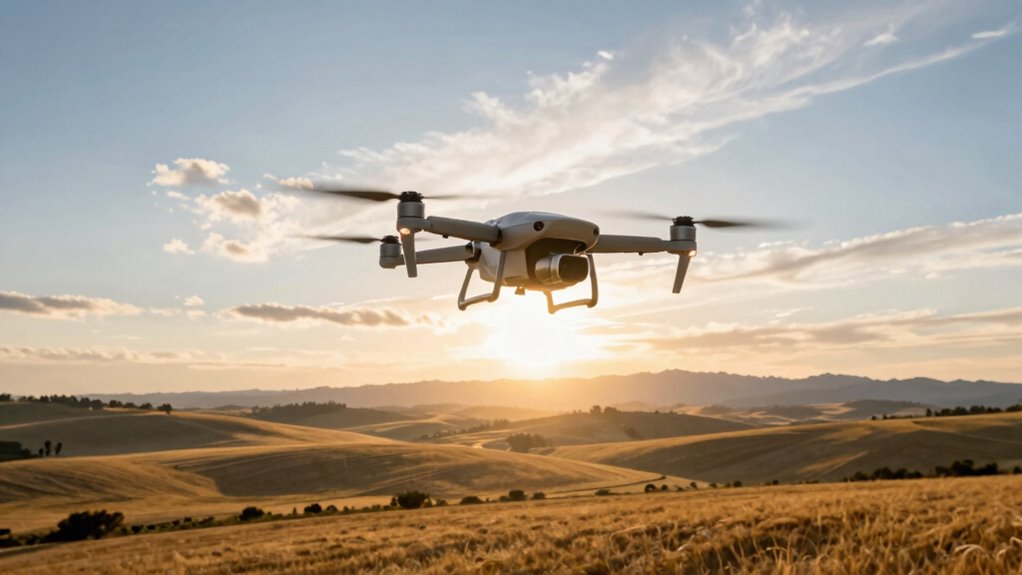
Have you considered how exploring your chosen location thoroughly can elevate your drone shot? Conducting a detailed scout allows you to identify key visual elements that will enhance your aerial composition. Walk the area or study it from different angles, paying attention to natural lines, shapes, and focal points. Seek out vantage points that offer a compelling bird’s eye perspective and consider how elements like water, architecture, or landscapes can frame your shot. By understanding the terrain and features beforehand, you can plan dynamic shots that highlight the location’s best aspects. This preparation guarantees your drone captures powerful visuals, making your footage more engaging and professional. Proper scouting transforms a simple flight into a well-thought-out visual story. Recognizing the importance of location analysis can help you anticipate potential challenges and opportunities for creative shots, ensuring you make the most of your aerial planning efforts. Additionally, understanding the local biodiversity can inspire unique perspectives that showcase the natural environment’s richness and resilience. Incorporating knowledge of environmental features can further enhance your ability to select the most compelling scenes for your drone footage.

ASA Flight Planner Pad
Weight: 0.75 lbs
As an affiliate, we earn on qualifying purchases.
As an affiliate, we earn on qualifying purchases.
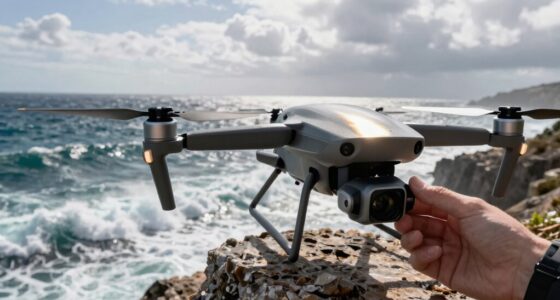
Picking the Best Gear and Settings for Your Drone
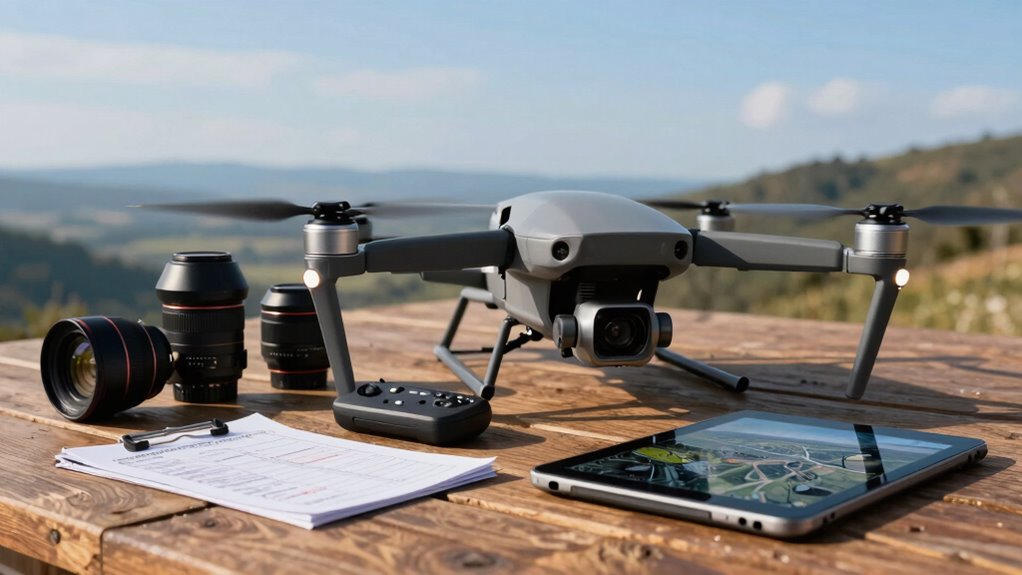
Once you’ve thoroughly scouted your location and identified the key visual elements, choosing the right gear and settings becomes the next step to capturing stunning drone footage. Prioritize a drone with reliable battery management to maximize flight time and avoid unexpected power loss during critical shots. Adjust your camera settings—such as resolution, frame rate, and shutter speed—to match your desired aesthetic and lighting conditions. Ensuring signal stability is essential; use a drone with strong transmission capabilities to prevent disconnects or interference. Keep extra batteries on hand for extended shoots, and double-check your signal strength before takeoff. With the right gear and carefully calibrated settings, you’ll set a solid foundation for smooth, professional-quality footage.
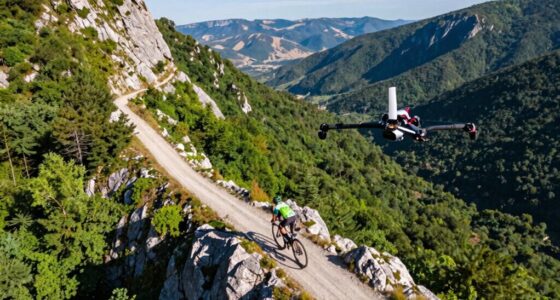
Planning Your Flight Path and Camera Moves

Before launching your drone, carefully plan your flight path and camera movements to guarantee smooth, intentional footage. Map out a route that emphasizes aerial stability, avoiding abrupt turns or altitude changes. Think about how your camera will move—smooth pans, tilts, or tracking shots—to tell your story effectively. Managing your battery is vital, so plan for shorter segments and safe return. Use this table to visualize your shot plan:
| Motion Type | Path Description | Camera Focus |
|---|---|---|
| Linear Flight | Straight across the scene | Wide landscape |
| Circular | Orbit around subject | Focus on subject |
| Ascend/Descend | Vertical movement | Highlight height |
| Tracking | Follow moving object | Dynamic perspective |
| Hovering | Stationary with slight adjustments | Detail shots |
This ensures your drone stays stable and your footage remains professional.
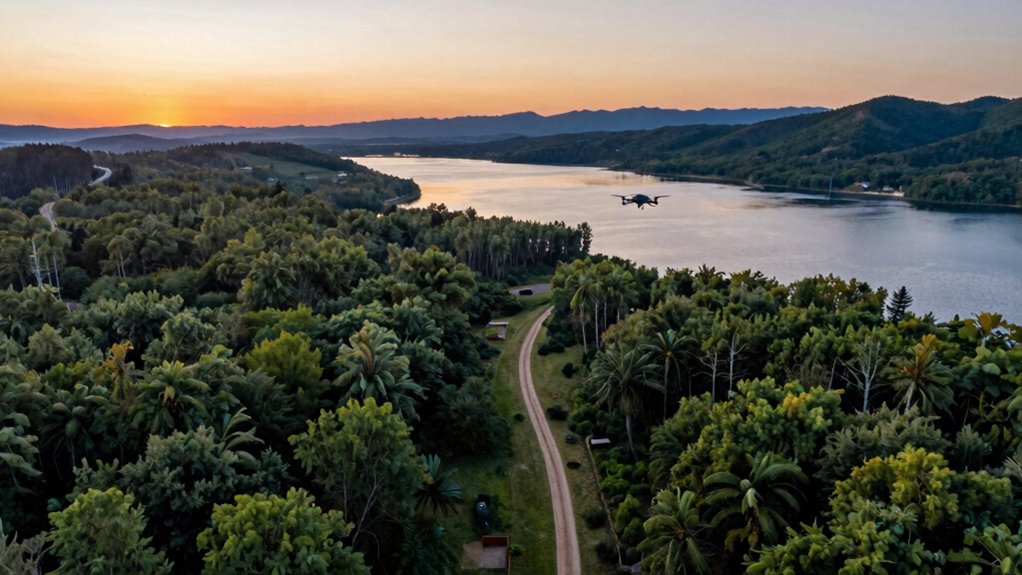
Lighting, Weather, and Timing Tips for Better Shots
Lighting conditions, weather, and timing play a significant role in capturing stunning drone footage. Natural light is your best friend—shoot during golden hours, shortly after sunrise or before sunset, to get warm, soft lighting that enhances your visuals. Avoid harsh midday sun, which can create unflattering shadows and overexposure. Keep an eye on wind conditions; strong gusts can make flying unstable and compromise shot quality. Calm weather provides better control and steadier footage. Check the weather forecast before your flight, and plan for periods of light wind or clear skies. Timing your shoot around the weather guarantees ideal lighting and stability, helping you capture crisp, professional-looking shots that truly stand out. Monitoring weather conditions closely ensures you select the best moments for stable and well-lit footage.
Creating a Shot Checklist for Smooth Filming
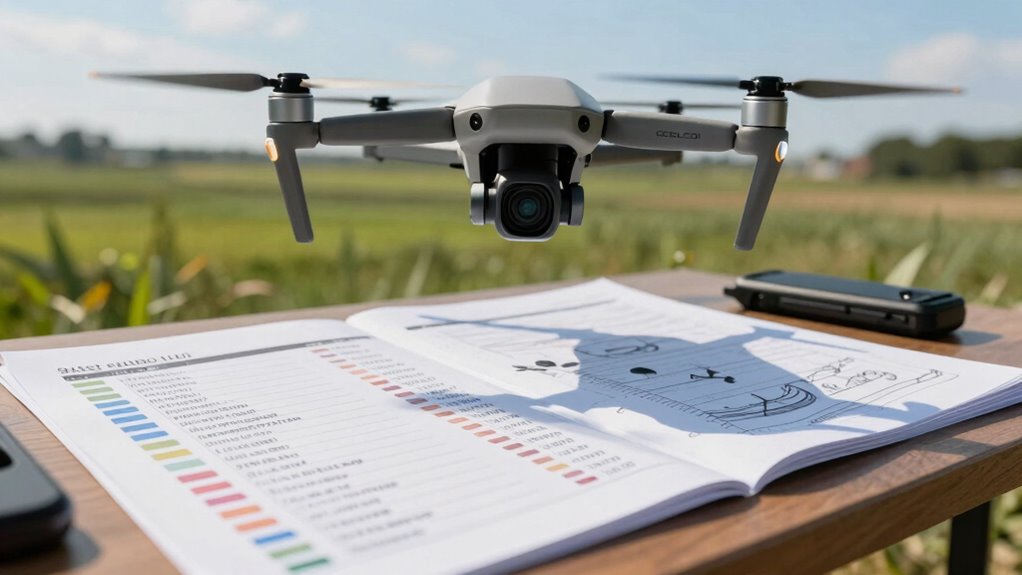
Creating a shot checklist is essential for ensuring your drone filming session runs smoothly and efficiently. Start by outlining the specific camera angles you want to capture, such as top-down or sweeping side views. Consider shot composition early, noting framing, focal points, and movement paths. This helps prevent missed shots and reduces the need for multiple takes. Include details like altitude, camera tilt, and the sequence of shots to maintain consistency. Reviewing your checklist before takeoff keeps you focused and confident, ensuring you don’t forget critical elements. A clear plan minimizes adjustments during filming, leading to smoother footage. Ultimately, a well-prepared shot checklist helps you execute your vision with precision, making your drone shots look professional and polished.
Frequently Asked Questions
How Do I Ensure My Drone Shots Are Legally Compliant?
To make certain your drone shots are legally compliant, you must get the necessary legal permissions before flying. Check local regulations on airspace regulations, especially near airports or restricted areas. Always stay within the altitude limits and maintain line of sight. Register your drone if required, and avoid flying over crowds or private property without permission. Staying informed and respecting these rules helps you avoid fines and guarantees safe, legal drone photography.
What Are Common Mistakes to Avoid During Drone Planning?
You should avoid neglecting weather considerations and poor battery management. Don’t fly in strong winds, rain, or fog, as these conditions can compromise control and safety. Always check your battery levels and bring extra batteries to prevent mid-flight power loss. Planning for weather and managing your battery life guarantees your drone stays stable, giving you smooth shots without risking crashes or damage. Stay prepared and attentive to these common pitfalls.
How Can I Incorporate Storytelling Into My Drone Shots?
Think of your drone shot as a scene from a classic film. Use storytelling techniques like establishing shots and leading lines to guide viewers’ emotions. Focus on cinematic composition—frame your subject with purpose and incorporate movement that enhances the narrative. You can also add a sense of scale or perspective to evoke feelings or tell a story visually. Combining these elements turns simple footage into a compelling story.
What Post-Processing Techniques Enhance Drone Footage?
To enhance your drone footage, start with color grading to bring out the mood and correct any exposure issues. Then, apply shot stabilization to smooth out shaky movements and create a professional look. Use software like Adobe Premiere Pro or DaVinci Resolve for these techniques. These adjustments make your footage more visually appealing, helping your story stand out and ensuring your shots look polished and intentional.
How Do I Practice and Improve My Drone Shot Planning Skills?
Practice and perfect your planning by prioritizing precise camera angles and weather considerations. Play around with different shot setups, studying how varying angles influence storytelling. Scout locations in diverse weather conditions to understand their impact on visibility and safety. Rehearse flight paths repeatedly, reviewing footage to identify areas for improvement. Consistent practice, combined with attentive weather awareness, sharpens your skills and helps you craft compelling, well-planned drone shots with confidence.
Conclusion
By planning your drone shots meticulously, you’ll transform ordinary footage into breathtaking cinematic masterpieces—like wielding a magic wand that turns everyday scenes into mesmerizing visual stories. With a clear vision, scouting, and prepping your gear, you’ll fly with confidence and capture stunning shots every time. Remember, a well-thought-out plan isn’t just helpful; it’s the secret weapon that elevates your drone filmmaking from good to mind-blowingly epic.