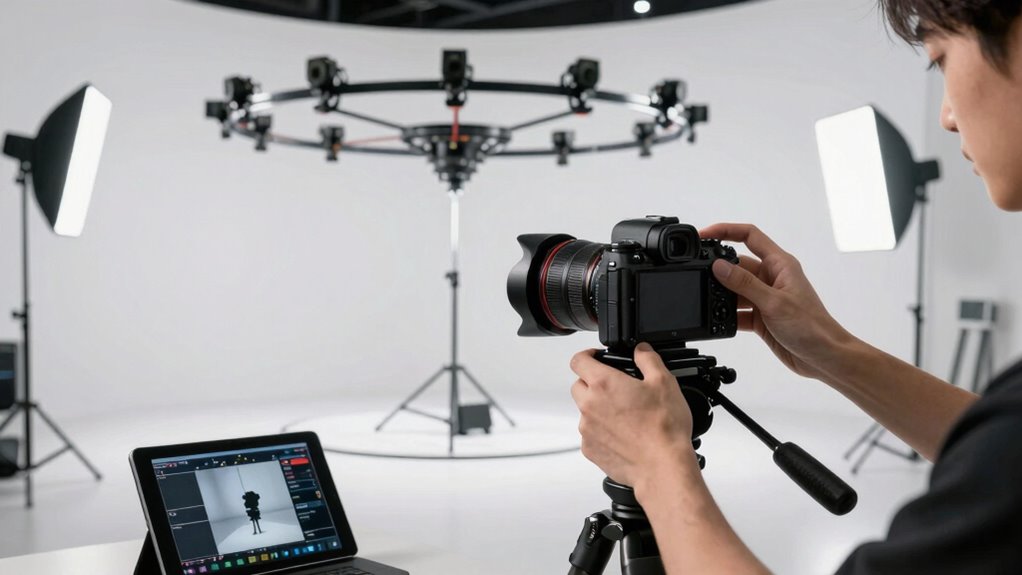

To plan a 360 shot without disrupting your workflow, start by mapping out camera angles and scene coverage to guarantee fluidity and message consistency. Prepare lighting setups in advance, testing from multiple positions to avoid harsh shadows or backlighting. Choose reliable equipment and rehearse scenes to fine-tune angles and lighting. Solid preparation helps you record smoothly and professionally. Keep these strategies in mind, and you’ll discover more tips to perfect your 360 filming process.
Key Takeaways
- Map out camera angles and movements in advance to streamline setup and avoid surprises during filming.
- Test lighting from multiple angles beforehand to ensure consistency and reduce adjustments during recording.
- Choose reliable, high-resolution 360 cameras and prepare backup gear for smooth operation.
- Conduct scene rehearsals to identify issues early and fine-tune angles and lighting efficiently.
- Trust thorough planning to minimize errors, save time, and maintain a seamless, immersive viewer experience.
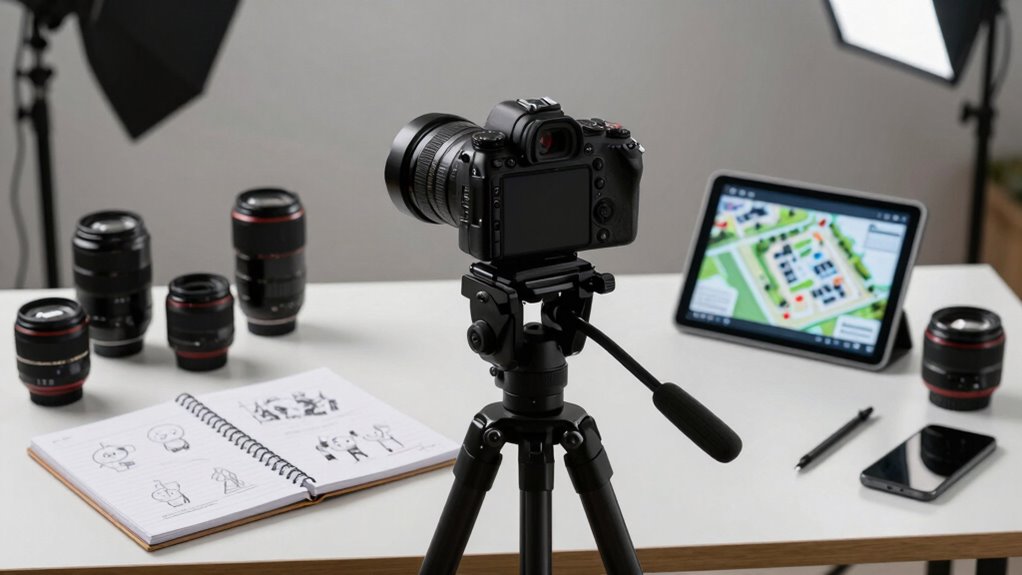
Capturing a seamless 360 shot requires careful planning before you start recording. You need to think about how your camera angles will capture the scene from every direction, guaranteeing fluidity and avoiding awkward changes. Think about the story or message you want to convey and plan your camera angles accordingly. Will you want a central point of focus, or do you prefer a more panoramic view that includes surrounding details? Mapping out these angles in advance helps prevent surprises during filming and makes editing much smoother. Also, ponder the camera’s placement and movement—whether it will be stationary, slowly rotating, or following a specific path. This planning helps you keep the shot consistent and immersive, which is crucial for a successful 360 experience.
Lighting setups play a critical role in how your 360 shot turns out. Since the camera captures every angle simultaneously, uneven or poorly planned lighting can create distracting shadows or overly bright spots. Before recording, decide on your lighting setups carefully. Use soft, diffused light sources to evenly illuminate the scene, reducing harsh shadows that could break the sense of immersion. If you’re outdoors, plan your shoot around the sun’s position to avoid backlighting or extreme contrast. Indoors, consider multiple light sources placed strategically to light all directions evenly. Test your lighting from various angles before recording, making adjustments so that every part of the scene appears consistent and natural from all viewpoints. This way, viewers won’t be distracted by lighting inconsistencies, and the shot will feel cohesive. Additionally, understanding lighting techniques can help you achieve the most balanced and immersive results. Properly lighting your scene in advance also allows you to identify potential issues early, saving you time during post-production. Planning your lighting setup carefully can also save you time and effort during post-production, ensuring a smoother editing process.
In addition to camera angles and lighting setups, plan your equipment well. Choose a camera capable of capturing high-resolution 360 images or video, and make sure it has a stable mounting system. Think about how you’ll control camera movement, if necessary, and whether you’ll need additional gear like gimbals or tripods. Also, prepare backup batteries and storage to avoid interruptions during shooting. Once you’ve mapped out your camera angles and lighting, rehearse the scene to see how everything looks in real-time. Make adjustments as needed, especially if the scene has complex lighting or multiple focal points. When you’re confident with your setup, proceed with recording, trusting that your prior planning will help you avoid costly mistakes and workflow disruptions. Proper preparation ultimately results in a professional, seamless 360 shot that immerses your audience fully in the scene.

Insta360 X5 – Waterproof 8K 360° Action Camera, Leading Low Light, Invisible Selfie Stick Effect, Rugged and Replaceable Lens, 3-Hour Battery, Built-in Wind Guard, Stabilization, Triple AI Chip Design
- 8K 360° Video Recording: Capture detailed 8K30fps immersive videos
- Enhanced Low Light Performance: Triple AI chips improve clarity in dim conditions
- Invisible Selfie Stick: Create third-person shots without visible stick
As an affiliate, we earn on qualifying purchases.
As an affiliate, we earn on qualifying purchases.
Frequently Asked Questions
What Gear Is Essential for Capturing a 360 Shot?
You’ll need a 360 camera or multiple cameras arranged to capture every angle for virtual tours. Camera stabilization is vital to avoid shaky footage, ensuring smooth, professional results. A tripod or rig helps maintain consistent framing, while a panoramic head makes seamless stitching easier. Consider a remote shutter or timer to prevent vibrations. These essentials help you create immersive virtual tours without complicating your workflow, delivering high-quality 360 shots efficiently.
How Much Time Should I Allocate for Planning?
You should allocate around 20-30% of your total shoot time to planning. For a 2-hour session, spend roughly 24-36 minutes on it. During this, focus on camera placement to guarantee smooth coverage and lighting considerations to avoid shadows or inconsistencies. Proper planning helps prevent reshoots and keeps your workflow efficient, especially since 70% of production delays come from poor pre-production.
Can I Edit a 360 Shot in Post-Production?
Yes, you can edit a 360 shot in post-production to enhance virtual reality and immersive experiences. You’ll have the flexibility to stabilize footage, adjust colors, remove unwanted objects, or add effects, ensuring your final product feels seamless and engaging. Just remember, editing 360 footage requires specialized software and techniques to maintain viewer immersion, so plan your edits carefully to preserve the immersive experience without disrupting the shot’s integrity.
What Are Common Mistakes to Avoid During Planning?
You should avoid poor lighting setup and neglecting audio considerations, as these are common planning mistakes. Make certain your lighting is even to prevent shadows and glare that ruin the shot. Don’t overlook audio, as clear sound is vital for immersive experiences. Plan your equipment placement carefully, and test both lighting and audio beforehand to save time and avoid re-shoots, keeping your workflow smooth and efficient.
How Do I Ensure Seamless Stitching of Footage?
Think of seamless stitching as fitting puzzle pieces perfectly. To achieve this, you should keep camera angles consistent, avoiding sudden movements that can misalign footage. Guarantee lighting remains uniform across all shots, preventing visible seams. Use overlapping frames and maintain the same exposure settings. These steps help your footage blend smoothly, creating a professional, cohesive 360-degree view that looks polished and natural.

DJI Osmo Mobile 8 Gimbal Stabilizer for Phone, 3-Axis Stabilization
- Native Tracking with Audio and Lighting: Enhanced focus, lighting, and audio capture
- 360° Pan Rotation: Immersive horizontal rotation for dynamic shots
- Quick Phone Connection: Easy setup with direct phone connection for tracking
As an affiliate, we earn on qualifying purchases.
As an affiliate, we earn on qualifying purchases.
Conclusion
By planning your 360 shot meticulously, you’re fundamentally designing a cinematic universe before even pressing record. With clear storyboards, camera placement, and lighting, you’ll avoid chaos and guarantee a smooth shoot. Think of it as mapping out a treasure hunt—every step leads to a stunning, seamless final product. When you prepare properly, your workflow stays sleek and efficient, and your footage will blow minds faster than you can say “cut!” So, plan smart, shoot sharp, and watch your project shine.

30W Upgraded Photography Lighting Kit, Anautin 1-Pack LED Video Lighting for Video Recording, 3700Lux Studio Lights with Tripod Stand for Photography, Streaming, Gaming, Podcast, Filming, Vlogging
- Powerful LED Output: 30W, 3700 Lumens, 352 LEDs
- Adjustable Color Temperature: 2500K-8500K with 10 brightness levels
- Uniform Illumination: Even light distribution with 95+ CRI
As an affiliate, we earn on qualifying purchases.
As an affiliate, we earn on qualifying purchases.

JOILCAN 74" Tripod for Camera Phone Video Recording Photography
- Adjustable Height Range: From 19" to 74" in seconds
- Compact & Lightweight Design: Only 18" folded, 3.15 lbs weight
- Enhanced Stability & Durability: Non-slip rubber feet, thick tubes, stability hook
As an affiliate, we earn on qualifying purchases.
As an affiliate, we earn on qualifying purchases.