
To record a cleaner voice in noisy locations, use a directional microphone like a shotgun or dynamic mic, keeping it close to your mouth. Choose a quiet spot, add soundproofing materials, and position yourself away from external noise. Speak confidently and clearly, maintaining a consistent distance. After recording, use editing tools to reduce background sounds and balance volume. Keep practicing these tips, and you’ll improve your audio quality even in challenging environments.
Key Takeaways
- Use directional microphones and proper placement to focus on your voice and minimize background noise.
- Choose a quiet, acoustically treated space with sound absorbers and soundproofing techniques.
- Speak loudly, enunciate clearly, and maintain a consistent distance from the microphone.
- Apply noise reduction and EQ adjustments during post-recording editing for clearer audio.
- Implement noise control tools like noise gates and software filters to further reduce ambient sounds.

RØDE VideoMic GO II Helix | Ultra-Compact On-Camera Shotgun Microphone with Both 3.5mm and USB Outputs for Filmmaking, Content Creation, Podcasting and Video Calls (3rd Gen)
The VideoMic GO II is a compact, lightweight, easy-to-use shotgun microphone for capturing professional quality audio with ease
As an affiliate, we earn on qualifying purchases.
As an affiliate, we earn on qualifying purchases.
How to Record Clear Voice in Noisy Environments
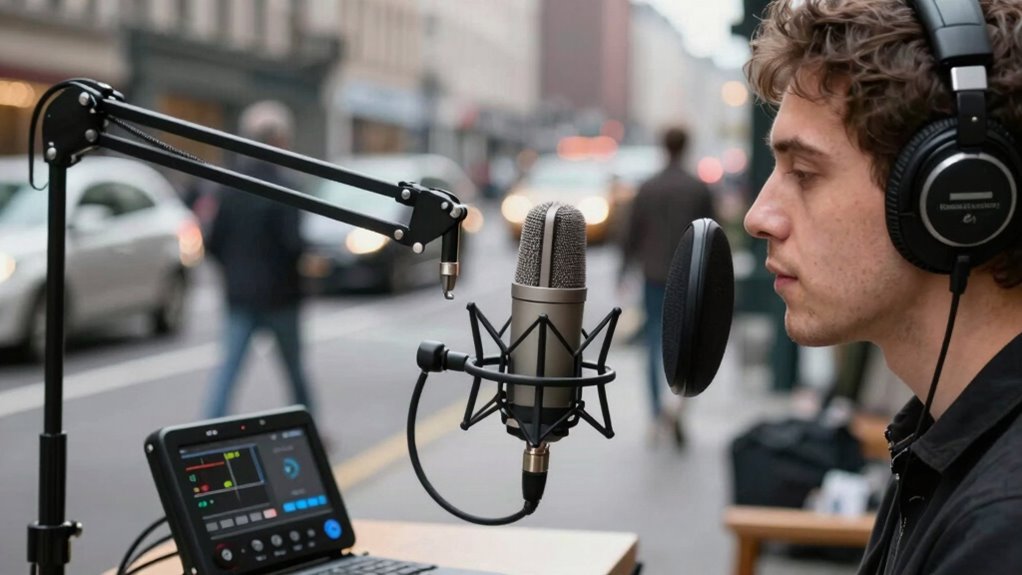
Recording clear voice in noisy environments can be challenging, but with the right techniques, you can substantially improve your sound quality. Focus on voice modulation to maintain consistent volume and tone, helping your voice stand out over background noise. Use a directional microphone to pick up your voice directly while minimizing ambient sounds. Avoid recording with background music playing loudly, as it can interfere with clarity. Instead, choose a quiet space or reduce background noise as much as possible. When speaking, project your voice and enunciate clearly, which helps your voice cut through the noise. By controlling your voice modulation and minimizing background distractions, you’ll produce cleaner recordings even in less-than-ideal environments. Incorporating audio equipment designed for noisy settings can further enhance your results. Additionally, understanding the role of environment in sound quality can help you select the most suitable recording location and setup. Being aware of soundproofing techniques can also significantly improve your recording conditions in challenging environments. To further optimize your recordings, consider using noise reduction tools that can filter out unwanted background sounds during editing. Understanding how specific soundproofing methods impact overall sound quality can help you achieve more professional results even in challenging environments.

Focusound 52 Pack Acoustic Foam Panels 1" x 12" x 12" Sound Proof Foam Panles Soundproofing Noise Cancelling Wedge Panels for Home Office Recoding Studio with 300PCS Double-Side Adhesive
Soundproofing – Acoustic foam panels triangular grooves structure for better noise absorption, helps to reduce and absorb unwanted…
As an affiliate, we earn on qualifying purchases.
As an affiliate, we earn on qualifying purchases.
Preparing Your Space for Better Audio

To improve your audio quality, pick a quiet space free from distractions. Make sure to reduce background noise and consider adding sound absorbers like foam panels or blankets. These steps will help you capture clearer, more professional-sounding recordings. Creating an environment with inspiring quotes and life moments can also help you stay motivated and focused during your recording sessions. Additionally, paying attention to acoustic treatment can significantly enhance your sound quality by minimizing echoes and reverberations. Ensuring proper soundproofing can further prevent unwanted noise from seeping in during your recordings, especially when utilizing noise reduction techniques to optimize clarity. Incorporating soundproofing materials can make a noticeable difference in creating an ideal recording environment.
Choose Quiet Environment
Creating a quiet environment is essential for capturing clear, professional-sounding audio. You want to establish quiet zones where ambient noise is minimal, so your voice stands out sharply. Choose a space away from busy streets, appliances, or anything that produces background sounds. Close windows and doors to block outside noise, and turn off electronics that generate hums or buzzes. If possible, set up in a small, enclosed room with soft furnishings that absorb sound. Avoid areas with echo or hard surfaces that reflect sound waves. By controlling your environment and reducing ambient noise, you’ll create the ideal conditions for recording a clean, crisp voice that doesn’t require extensive editing later. Additionally, understanding your sound environment can help you identify the best spots for recording and improve overall audio quality. Being aware of background noise levels can further enhance your recording setup and ensure your voice remains clear and focused. Regularly monitoring your noise levels can help you adjust your setup on the fly and achieve better results. Paying attention to the acoustic properties of your space can make a significant difference in the quality of your recordings. Recognizing how room acoustics influence sound reflections can help you select or modify your space for optimal audio capture.
Minimize Background Noise
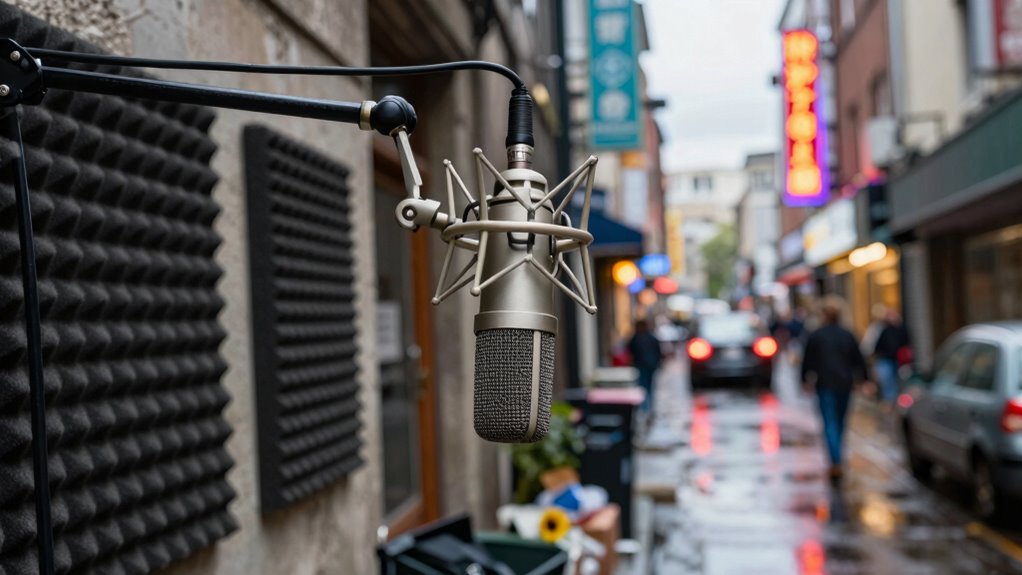
After setting up a quiet environment, the next step is to actively minimize any remaining background noise that could interfere with your recording. Start by hanging soundproof curtains over windows and doorways to block external sounds. These curtains absorb noise and reduce echo, creating a calmer space. Additionally, consider installing acoustic panels on walls to further dampen sound reflections and minimize ambient noise. Acoustic panels help create a controlled recording environment, making your voice clearer and more professional. Avoid placing furniture or electronics that produce background noise near your recording area. By combining soundproof curtains and acoustic panels, you’ll considerably improve your space’s sound quality, ensuring your recordings sound cleaner and more polished. Incorporating sound absorption techniques can further enhance the audio clarity of your recordings. To optimize your setup, also ensure proper room acoustics by arranging your space to prevent sound from bouncing around. Using soundproofing materials effectively can significantly reduce unwanted noise and improve overall sound quality. Paying attention to soundproofing methods can make a notable difference in your recording environment.
Use Sound Absorbers
Using sound absorbers is essential for transforming your space into a better recording environment. Soundproof curtains help block out external noise and reduce echo, making your recordings clearer. Acoustic panels absorb sound reflections within the room, preventing unwanted reverberation. Place soundproof curtains over windows and doorways to minimize outside noise intrusion. Mount acoustic panels on walls where sound bounces, especially behind and around your recording spot. Combining these sound absorbers creates a quieter, more controlled environment, even in noisy locations. This setup helps your voice sound cleaner and more professional by reducing echo and background distractions. Investing in these simple upgrades makes a noticeable difference in your audio quality, giving you a more polished recording every time. Additionally, understanding soundproofing techniques can further enhance your recording environment for optimal results, especially in noisy locations, by creating a more acoustically friendly space.
![WavePad Audio Editing Software - Professional Audio and Music Editor for Anyone [Download]](https://m.media-amazon.com/images/I/B1fcLEGCs6S._SL500_.png)
WavePad Audio Editing Software – Professional Audio and Music Editor for Anyone [Download]
Full-featured professional audio and music editor that lets you record and edit music, voice and other audio recordings
As an affiliate, we earn on qualifying purchases.
As an affiliate, we earn on qualifying purchases.
Picking the Right Microphone and Gear for Noisy Settings
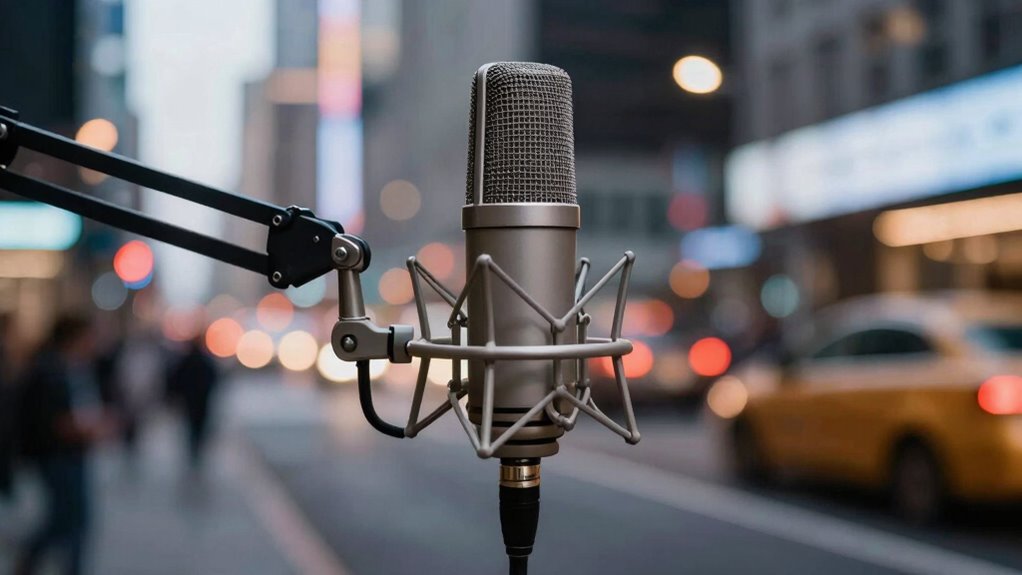
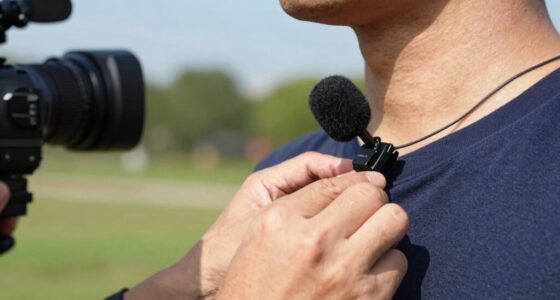
Choosing the right microphone and gear is vital when recording in noisy environments. You’ll want microphones designed to minimize background sounds, like dynamic or shotgun mics, along with essential accessories such as pop filters and sound shields. These tools help capture clearer audio despite surrounding noise.
Microphone Types for Noise
When recording in noisy environments, selecting the right microphone can make all the difference in capturing clear, professional sound. Dynamic microphones are a solid choice because they’re less sensitive to background noise, making them ideal for noisy settings. They focus on close source sound and reject much of the ambient noise around you. Condenser microphones, on the other hand, pick up more detail and nuance but are more sensitive to ambient sounds, so they work best when you can isolate the source or use in a controlled environment. If you need a microphone that minimizes background noise, a dynamic mic is usually the better option. However, if your environment is relatively quiet or you want richer vocal detail, a condenser microphone can deliver excellent results with proper placement. Understanding microphone types and their characteristics is essential for choosing the right gear for your recording environment.
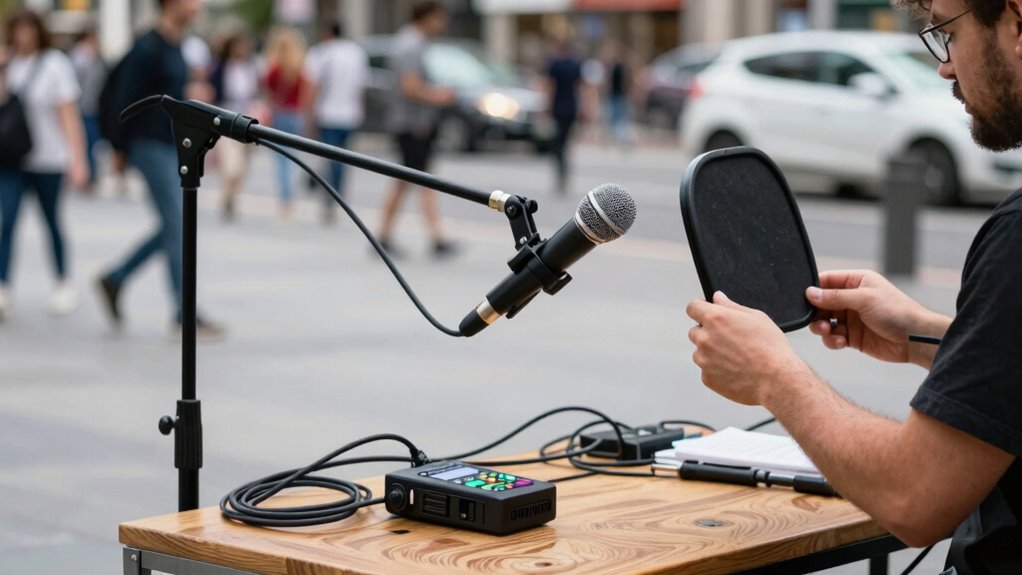
Essential Recording Accessories
Selecting the right microphone and gear can considerably improve your recording quality in noisy environments. To block out disruptive sounds, consider using soundproof curtains or portable acoustic panels, which help isolate your recording space. A directional microphone, like a shotgun mic, captures your voice while minimizing background noise. Additionally, accessories like pop filters and shock mounts enhance sound clarity. Here’s a quick overview:
| Accessory | Purpose | Recommended Use |
|---|---|---|
| Soundproof Curtains | Reduce external noise | Create a quieter recording environment |
| Portable Acoustic Panels | Absorb sound reflections | Improve room acoustics for clearer recordings |
| Shotgun Microphone | Focused sound pickup | Ideal in noisy settings |
| Pop Filter | Minimize plosive sounds | Voice clarity in recordings |
Choosing appropriate gear can help you regional culture and scenery come through more clearly in your recordings, even in challenging environments.

FIFINE USB/XLR Dynamic Microphone for Podcast Recording, PC Computer Gaming Streaming Mic with RGB Light, Mute Button, Headphones Jack, Desktop Stand, Vocal Mic for Singing YouTube-AmpliGame AM8
[Natural Audio Clarity] Operated with frequency response of 50Hz-16KHz, the podcasting XLR mic delivers balanced audio range, likely…
As an affiliate, we earn on qualifying purchases.
As an affiliate, we earn on qualifying purchases.
Positioning and Speaking Tips for Crisp Sound

To achieve a crisp, clear voice recording, proper positioning and speaking technique are essential. Start by focusing on voice projection—speak confidently and directly toward the microphone without shouting. This guarantees your voice stays focused and reduces background noise interference. When it comes to microphone placement, keep the mic about 6 to 12 inches from your mouth, slightly off-center to avoid plosive sounds. Maintain a consistent distance to prevent volume fluctuations. Sit or stand with good posture to promote steady voice projection and reduce unwanted noise. Take deep breaths to support your voice, and speak clearly with a natural tone. Proper positioning and controlled speaking habits make your voice stand out, even in noisy environments, resulting in a cleaner, more professional sound.
Editing Tricks to Clean Up Your Recordings

Editing your recordings is an essential step in achieving a polished, professional sound. To clean up noisy recordings, focus on voice modulation techniques that emphasize your natural tone and reduce harsh sounds. Use audio compression to even out volume levels, making quieter parts clearer and preventing loud noises from clipping. Carefully apply noise reduction tools to eliminate background sounds without sacrificing vocal clarity. Adjusting EQ settings can also help remove unwanted frequencies caused by environmental noise. Be precise with your edits—avoid over-compression, which can make your voice sound unnatural, and use subtle voice modulation adjustments to enhance clarity. Additionally, paying attention to sound quality can significantly improve your recording’s overall clarity and professionalism. These tricks will help you craft a clean, balanced recording that sounds professional, even in less-than-ideal environments.
Troubleshooting Common Recording Problems in Noisy Places
When recording in noisy environments, you’ll often encounter problems like background hums, echoes, or sudden loud noises that disrupt the clarity of your voice. To troubleshoot these issues, start by applying noise cancellation techniques, such as using noise gates or software filters. Adjust audio compression settings to even out volume levels without amplifying background sounds. Keep your microphone close to your mouth to reduce room echo and background noise. Consider using directional microphones that focus on your voice. Additionally, record in quieter spots whenever possible, and always review your recordings to identify persistent problems. These steps help improve clarity and make post-production editing more effective. Employing noise cancellation techniques and proper microphone placement are key to overcoming common noisy environment issues.
Frequently Asked Questions
What Are Some Affordable Soundproofing Options for Home Recording?
You can start with affordable soundproofing options like installing acoustic panels on your walls to absorb noise. DIY soundproofing projects, such as sealing gaps with weatherstripping or using heavy curtains, also help reduce sound leaks. Foam panels are budget-friendly and easy to set up, making them ideal for home recordings. Combining acoustic panels with DIY solutions creates a quieter environment without breaking the bank.
How Does Background Noise Affect Audio Quality Long-Term?
Background noise can degrade your audio quality over time, making your recordings sound less clear and professional. It interferes with echo cancellation and ambient noise suppression, causing echoes and background sounds to persist. This can strain your editing process and reduce overall clarity. Long-term, consistent exposure to noisy environments can also strain your equipment, leading to potential damage or decreased performance. To maintain high-quality recordings, minimize background noise whenever possible.
Can Smartphone Microphones Be Effective in Noisy Environments?
Smartphone microphones can be effective in noisy environments if you take specific steps. They often pick up ambient noise, making your recordings less clear. To improve sound quality, use noise reduction apps or position your phone close to your mouth. Additionally, choose quieter spots and avoid background distractions. While they’re convenient, for professional results, consider specialized microphones designed for noisy settings to better isolate your voice from ambient noise.
What Are the Best Apps for Real-Time Noise Reduction?
You should try apps like Krisp or Dolby On for real-time noise reduction. These apps excel at noise cancellation and audio enhancement, helping your voice sound clearer even in noisy environments. They actively filter out background sounds and improve audio quality during recording or calls. By using such apps, you can guarantee your voice remains crisp and professional, making your recordings more effective regardless of ambient noise levels.
How Do Different Room Materials Impact Sound Absorption?
Think of your room as a music hall; different materials shape its sound like a conductor. Room reflection varies with material density—hard surfaces like concrete bounce sound waves, creating echoes, while soft materials like foam absorb them, reducing reflections. Choosing dense materials for walls, carpets, and curtains helps tame unwanted sound, making your recordings clearer. Your room’s material makeup directly influences how sound behaves, shaping your recording environment markedly.
Conclusion
So, next time you’re recording in a noisy place, remember—it’s all about the right gear, positioning, and a little editing magic. Ironically, with all these tips, you might actually end up sounding like you’re in a quiet studio, even when you’re not. Who knew that noise could be so easily tamed? Now, go ahead and impress everyone with crystal-clear audio—no matter how loud the world around you gets.