When shooting with high frame rate cameras, beginners often set too slow or too fast shutter speeds, resulting in choppy or overly smooth footage. They might also neglect proper lighting, causing dark or noisy images. Using unstable shots without stabilization tools can make footage jittery. Understanding how aperture, ISO, and shutter speed work together is key to capturing sharp, cinematic footage. Keep exploring these techniques to avoid common mistakes and improve your results.
Key Takeaways
- Not adjusting shutter speed appropriately, leading to choppy or overly smooth footage.
- Underestimating the need for additional lighting at high frame rates, causing underexposure or noise.
- Neglecting stabilization techniques, resulting in shaky footage that reduces professionalism.
- Failing to experiment with camera settings, hindering understanding of optimal configurations.
- Overlooking the relationship between lighting, shutter speed, and exposure, affecting image quality.
If you’re new to high frame rate (HFR) cameras, it’s easy to make mistakes that hinder your footage quality. The key to improving your results lies in understanding how to optimize your camera settings and refine your shooting techniques. Many beginners jump into shooting at high frame rates without fully grasping the necessary adjustments, which often results in choppy footage or poor image quality. To avoid these pitfalls, start by paying close attention to your camera settings. For example, the shutter speed should typically be double your frame rate to produce natural motion blur. If you’re shooting at 120 fps, set your shutter speed to around 1/240 second. Failing to do so can lead to overly sharp, unnaturally smooth footage or excessive motion blur, both of which diminish your video’s professionalism.
Adjust your shutter speed to double your frame rate for natural motion blur and professional-looking footage.
Next, consider your exposure and ISO settings. High frame rate footage requires more light because you’re capturing more frames per second. If you neglect to compensate with your aperture or ISO, your footage can turn out too dark or noisy. A well-balanced exposure ensures cleaner images that showcase detail even when shooting fast motion. Additionally, be mindful of your aperture; a wider aperture lets in more light but can reduce depth of field, so adjust based on your scene’s needs. Being aware of your camera’s sensor capabilities can help you choose optimal settings to maximize image quality in various lighting conditions.
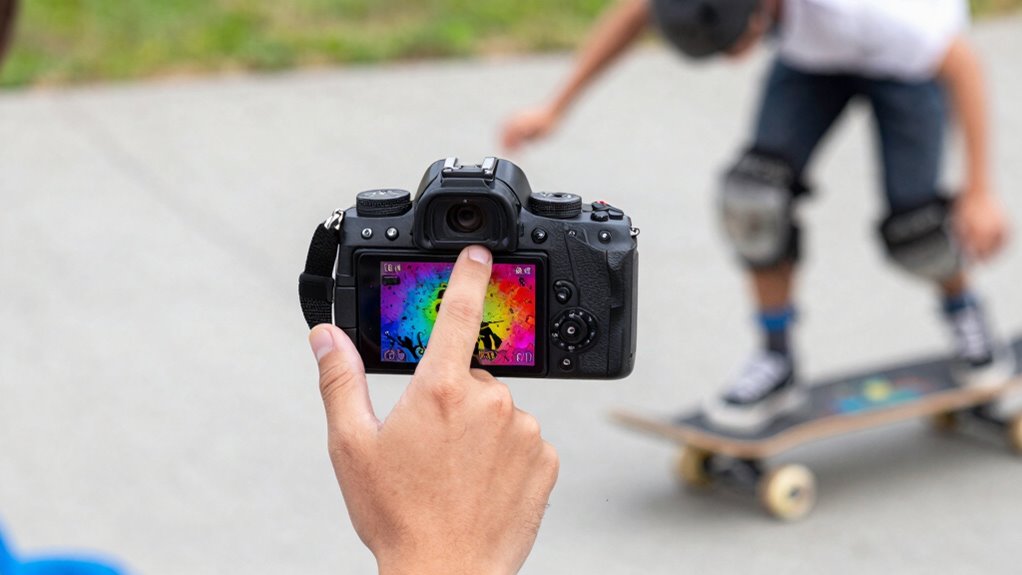
Shooting techniques also play an indispensable role in high frame rate videography. For example, stability is more critical at high frame rates. Because you’re capturing so much detail, any camera shake becomes more noticeable. Use a tripod, gimbal, or stabilizer whenever possible to keep your shots steady. Moving your camera smoothly and deliberately helps prevent distracting jitter. Also, plan your shot composition carefully. High frame rate footage tends to reveal more subtle movements, so think about your framing and camera angles ahead of time to maximize clarity and impact.
Another essential tip is to be mindful of your lighting conditions. Shooting at high frame rates demands more light, making it essential to have sufficient illumination. Avoid shooting in low-light environments unless you have powerful lights or a camera with good high ISO performance. Additionally, understanding proper shutter speed is crucial, as it directly impacts motion portrayal and overall footage quality. Proper lighting and shutter speed settings work hand-in-hand to produce smooth, professional results. Lastly, experiment with your camera’s settings and shooting techniques in different scenarios to develop an intuitive sense of what works best. The more you practice, the better you’ll understand how to tweak your camera settings and employ effective shooting techniques, leading to smoother, sharper, and more professional-looking footage.

DJI RS 3 Mini, 3-Axis Gimbal Stabilizer for Cameras Canon/Sony/Panasonic/Nikon/Fujifilm, 2 kg (4.4 lbs) Tested Payload, Camera Gimbal with Native Vertical Shooting, Black
795g (1.75lbs) Lightweight and Portable – DJI RS 3 Mini is an ultra-compact gimbal stabilizer for camera convenient…
As an affiliate, we earn on qualifying purchases.
As an affiliate, we earn on qualifying purchases.
Frequently Asked Questions
How Do I Choose the Right High Frame Rate Camera for Beginners?
To choose the right high frame rate camera for beginners, focus on camera stabilization and battery life. Opt for a model with built-in stabilization to guarantee steady shots, especially for fast-moving scenes. Look for a camera with long battery life so you can shoot longer without interruptions. Consider user-friendly features and budget, and read reviews to find a device that balances performance with ease of use, making your learning curve smoother.
What Accessories Are Essential for Using High Frame Rate Cameras Effectively?
Don’t put all your eggs in one basket when choosing accessories. You’ll want extra lenses compatible with your camera to capture different scenes, and reliable storage solutions to handle high frame rate footage. A sturdy tripod helps keep shots steady, and extra batteries guarantee you don’t miss a vital moment. These essentials make your high frame rate camera more effective, saving you time and hassle while capturing smooth, professional footage.
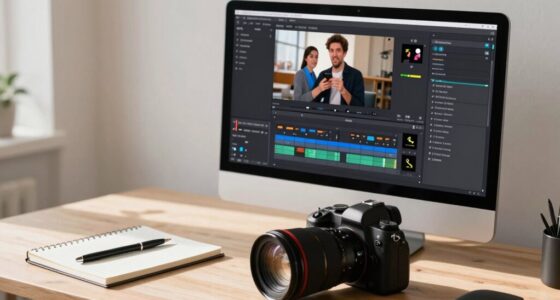
How Can I Edit High Frame Rate Footage for Smooth Playback?
To edit high frame rate footage for smooth playback, focus on frame rate conversion and motion smoothing. Convert your footage to a standard playback rate using editing software, ensuring it matches your project’s timeline. Apply motion smoothing effects sparingly to reduce judder and enhance fluidity. This process helps maintain the high-quality detail captured at high frame rates, resulting in seamless, professional-looking footage that’s easy to view and share.
Are There Specific Lighting Requirements for High Frame Rate Filming?
You need specific lighting setups for high frame rate filming to prevent motion blur and achieve sharp images. Bright, evenly distributed lighting minimizes shadows and guarantees proper exposure. Use diffusers and softboxes for smooth light, and consider color grading in post-production to enhance visuals. Proper lighting is essential, as it helps you capture crisp footage at high frame rates, making editing and color correction more manageable and resulting in professional-quality results.
What Are Common Troubleshooting Tips for High Frame Rate Camera Issues?
When troubleshooting high frame rate camera issues, start by checking camera calibration to guarantee accurate image capture. Verify your settings match your shooting conditions, and adjust shutter speed or exposure if needed. Also, make certain your storage solutions are fast enough to handle large data files without lag or loss. Regularly clean your lenses and sensors, and restart your camera to resolve minor glitches, keeping your footage smooth and clear.

JOILCAN Tripod Camera Tripods, 74" Tripod for Camera Phone Video Recording, Heavy Duty Cameras Tripod Stand, Professional Travel DSLR Tripods Compatible with Canon iPhone, Max Load 15 LB
【Lightweight & Easy to Adjust】Upgraded trapezoidal flap lock tripod adjusted freely from 19" and 74" in a few…
As an affiliate, we earn on qualifying purchases.
As an affiliate, we earn on qualifying purchases.
Conclusion
Now that you’re aware of common pitfalls, you’re better equipped to master high frame rate cameras. Don’t let mistakes hold you back—think of them as stepping stones to improvement. With patience and practice, you’ll turn those errors into lessons learned. Remember, every expert was once a beginner, so keep pushing forward. The road to great footage might be rocky at first, but with persistence, you’ll be capturing stunning shots in no time.

Canon EF 75-300mm f/4-5.6 III Telephoto Zoom Lens for Canon SLR Cameras
75-300 millimeter telephoto zoom lens with f 4-5.6 maximum aperture for Canon SLR cameras
As an affiliate, we earn on qualifying purchases.
As an affiliate, we earn on qualifying purchases.

2-Pack LED Video Light Kit, NiceVeedi Studio Light, 2800-6500K Dimmable Photography Lighting Kit with Tripod Stand&Phone Holder, 73" Stream Light for Video Recording, Game Streaming, YouTube
【MULTIPLE COLOR TEMPERATURE & ADJUSTABLE BRIGHTNESS】There are 3 Color temperatures (2800K, 4800K & 6500K) which offer different lighting…
As an affiliate, we earn on qualifying purchases.
As an affiliate, we earn on qualifying purchases.