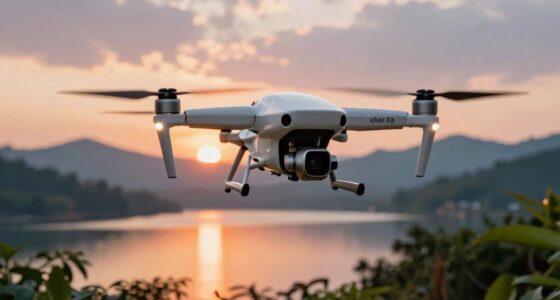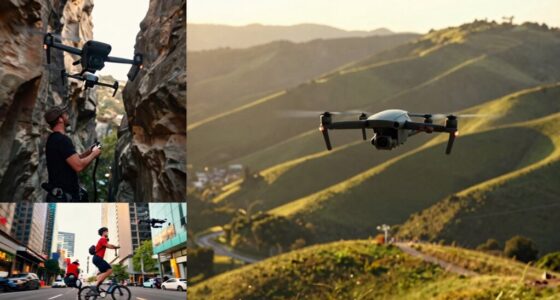
Mastering manual exposure on your drone gives you control over things automatic settings can’t handle, like tricky lighting or high-contrast scenes. Focus on adjusting ISO, shutter speed, and aperture to get perfect shots in various conditions. Use tools like histograms and live feeds to fine-tune your settings quickly. This knowledge helps you capture sharp, professional footage in any environment. Keep exploring, and you’ll soon understand how to make every shot look its best.
Listen free for 30 days with Audible
Thousands of audiobooks and originals — cancel anytime.
As an affiliate, we earn on qualifying purchases.
Key Takeaways
- Learn to manually adjust ISO, shutter speed, and aperture for optimal exposure control in drone photography.
- Use live feed and histogram tools to monitor and fine-tune exposure settings in real-time.
- Understand how changing shutter speed affects motion blur and image sharpness in videos.
- Practice scene analysis to quickly adapt camera settings to varying lighting conditions.
- Mastering manual exposure ensures consistent, high-quality footage across diverse environments.
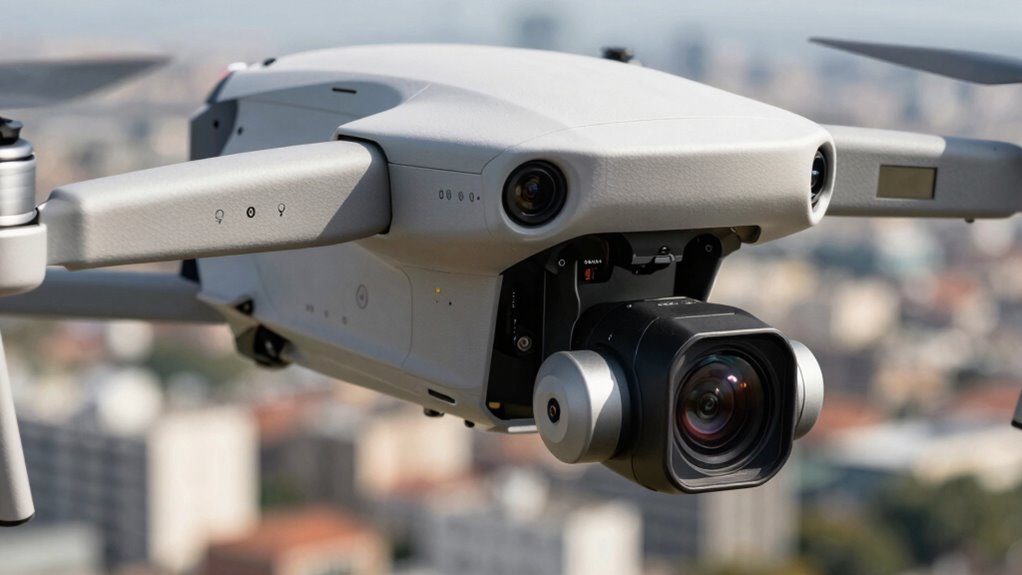
Have you ever struggled to get the perfect shot with your drone because of tricky lighting conditions? It’s frustrating when bright sunlight or shadowed areas mess with your footage, making it hard to capture the scene exactly as you envision. That’s where understanding manual exposure for drones can make a big difference. By mastering camera settings and exposure control, you gain the ability to fine-tune your camera to suit any lighting situation, giving you more control over your images and videos.
Getting comfortable with camera settings is the first step. Most drones offer adjustable options like ISO, shutter speed, and aperture, which work together to influence exposure. When you switch to manual mode, you’re no longer relying on automatic adjustments that may not suit your scene. Instead, you can set these parameters yourself, tailoring the exposure to your needs. For instance, lowering the ISO reduces the sensor’s sensitivity to light, helping to prevent overexposure in bright conditions. Increasing the shutter speed can freeze fast-moving objects or reduce overall brightness, while adjusting aperture (if your drone allows it) controls how much light enters the lens.
Master camera settings like ISO, shutter speed, and aperture to control exposure and capture perfect shots in any lighting.
Exposure control is about balancing these settings to guarantee your image isn’t too bright or too dark. When you’re in manual mode, you have the power to prevent blown-out highlights or lost details in shadowed areas. This control becomes especially valuable when shooting in high-contrast environments, where automatic settings might struggle to get it right. You’ll learn to read the scene and make quick adjustments, checking your camera’s live feed or histogram to gauge exposure accuracy. The histogram is a valuable tool because it visually shows the distribution of brightness levels, guiding you to adjust exposure controls until you achieve the perfect balance. Developing an understanding of how different scenes affect exposure settings helps you make more precise adjustments.
Practicing manual exposure also helps you understand how each setting impacts your footage. Changing the shutter speed affects motion blur, while ISO influences noise levels. Over time, you’ll develop an intuitive sense of how to tweak these settings on the fly, even in rapidly changing lighting conditions. This skill is especially vital for capturing dynamic scenes, such as moving vehicles or wildlife, where automatic settings might lag or produce inconsistent results. Additionally, understanding exposure control enhances your ability to adapt quickly to changing environments, ensuring consistent quality in your shots. Recognizing the sensor behavior of your drone’s camera can also help you predict how adjustments will influence your footage, reducing trial-and-error during shoots. By taking control through camera settings and exposure management, you’ll produce sharper, more professional-looking footage, regardless of the lighting challenges you face.
In essence, mastering manual exposure transforms your drone photography from guesswork into a precise craft. It puts the power back in your hands, guaranteeing that no lighting condition can ruin your shot. The more you practice, the more confident you’ll become in adjusting exposure control quickly and accurately, making every flight an opportunity to create stunning, well-exposed images and videos.
As an affiliate, we earn on qualifying purchases.
Frequently Asked Questions
How Does Ambient Light Affect Manual Exposure Settings?
Ambient light critically impacts your manual exposure settings because it influences your light measurement. When there’s bright sunlight, you might need to decrease exposure compensation to avoid overexposure. Conversely, in low light, you’ll likely increase exposure compensation to brighten your images. Adjusting these settings ensures your camera captures the scene accurately, balancing brightness and details. Always monitor ambient light conditions to optimize your manual exposure for the best drone shots.
Can Manual Exposure Settings Be Saved for Different Drone Environments?
Think of your drone’s exposure settings as a tailored suit for different environments. You can save these settings, like storing your favorite outfit, for quick adjustments later. Just guarantee sensor calibration is accurate for each setting, and keep an eye on battery life, as frequent changes may drain power faster. With proper saves, you’ll effortlessly adapt to varying lighting conditions, maintaining perfect exposure every time.
What Is the Impact of Shutter Speed on Image Quality?
Shutter speed greatly impacts your image quality; a faster shutter minimizes sensor noise and reduces motion blur, resulting in sharper images. However, if it’s too fast, your photo may be underexposed, losing detail. Conversely, slower shutter speeds allow more light, which can introduce sensor noise in low-light conditions and increase motion blur if your drone moves. Finding the right balance guarantees clear, well-exposed shots with minimal noise and sharpness.
How Do You Troubleshoot Exposure Issues During Flight?
Troubleshoot exposure troubles by checking sensor calibration and adjusting camera settings swiftly. Guarantee your drone’s sensor stays accurate, avoiding overexposure or underexposure. Manage your battery meticulously, as power dips can cause camera inconsistencies. If images seem off, toggle between auto and manual modes, tweak ISO and shutter speed, and then test again. Proper preparation and precise parameter adjustments help prevent and solve exposure issues during flight.
Are There Automatic Modes That Optimize Manual Exposure?
Yes, many drones offer auto exposure modes that optimize manual exposure settings for you. These modes automatically adjust ISO, shutter speed, and aperture to adapt to changing lighting conditions. Additionally, some drones provide exposure presets tailored for different scenarios, like bright sunlight or low light. Using these features allows you to focus on flying while ensuring your footage stays well-exposed, making your shots more consistent and professional-looking.
drone camera ISO shutter speed aperture
As an affiliate, we earn on qualifying purchases.
As an affiliate, we earn on qualifying purchases.
Conclusion
Mastering manual exposure reveals your drone’s full potential, letting you capture stunning, professional-quality shots. Did you know that over 60% of amateur drone pilots miss out on breathtaking footage because they rely solely on automatic settings? By understanding and controlling exposure yourself, you can turn ordinary scenes into extraordinary visuals. So, take control, practice regularly, and watch your skills—and your photos—soar to new heights. The sky’s the limit when you understand manual exposure!
As an affiliate, we earn on qualifying purchases.
professional drone camera accessories
As an affiliate, we earn on qualifying purchases.
As an affiliate, we earn on qualifying purchases.
Fall Picks
fall essentials
As an affiliate, we earn on qualifying purchases.